Armory Crafter Documentation v1.1
Kevin Iglesias
1. Quick Start
Follow these steps to make your first weapon:
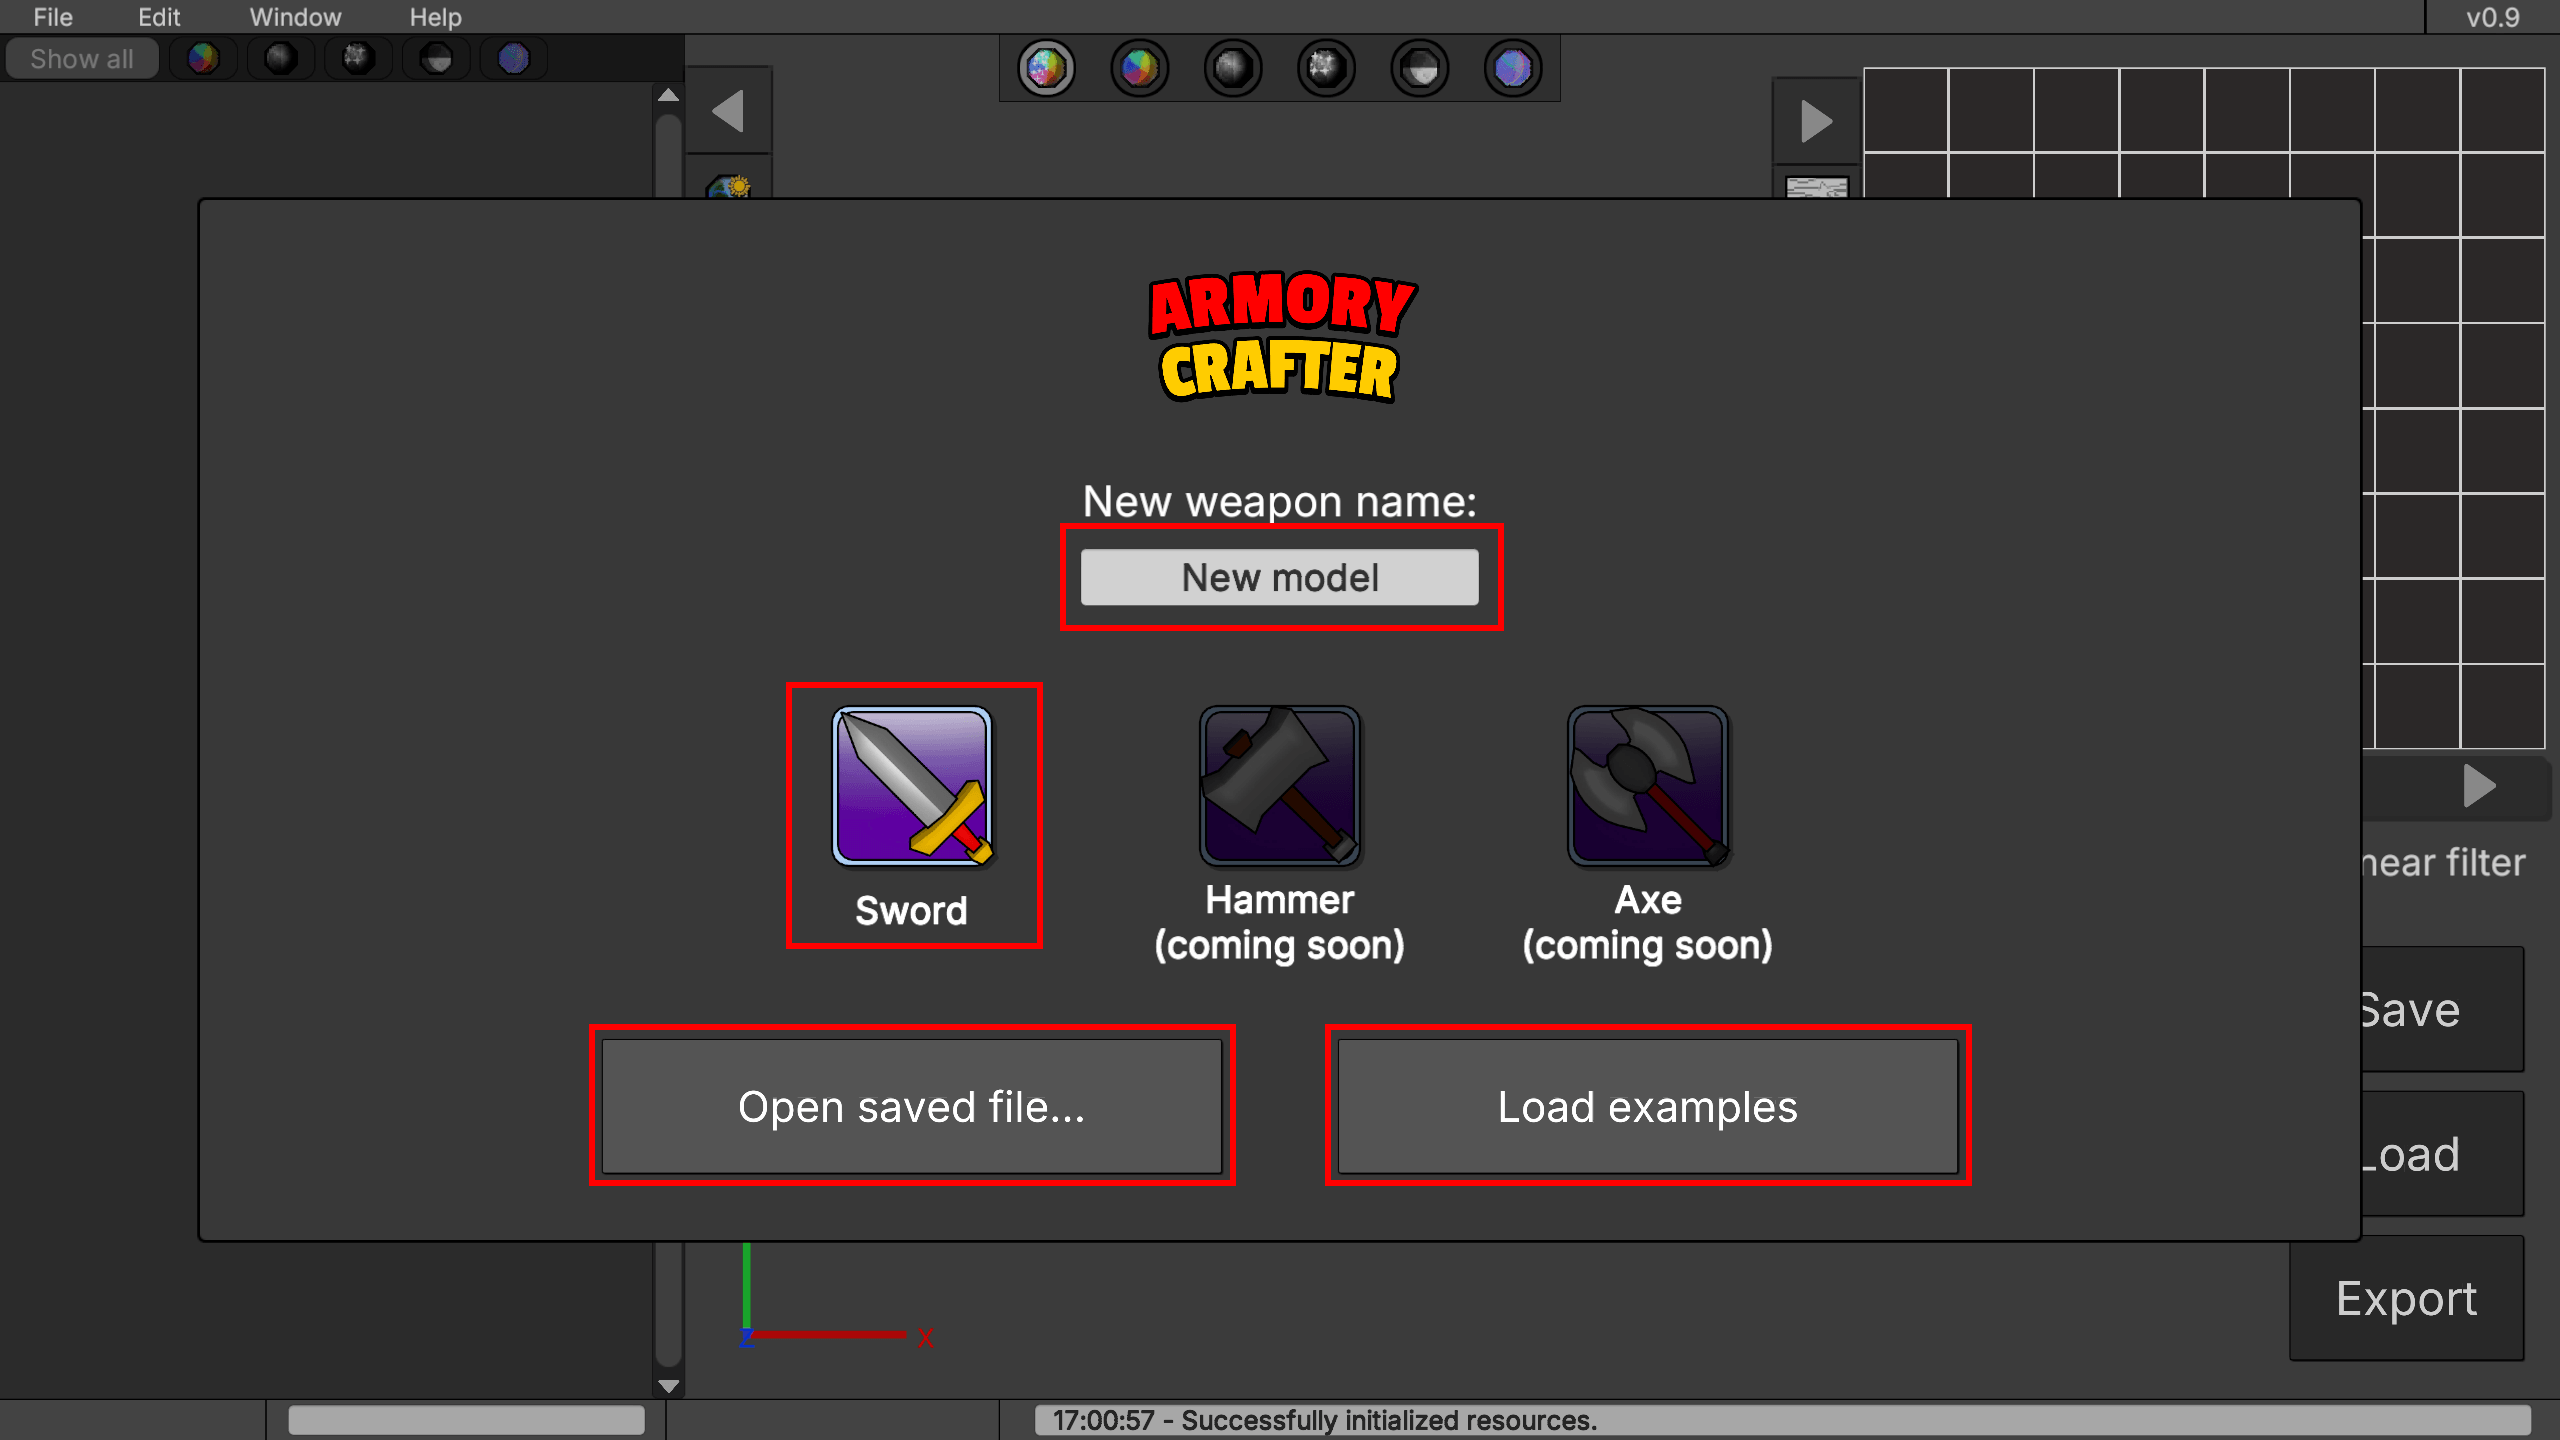
- When opening Armory Crafter, you will see a window with a text input field where you can name your creation. You will also see weapon options, currently only swords are available, but more are coming soon. If you already have a weapon file, you can load it using the "Open saved file..." button, or use the "Load examples" button to open default examples as a starting point.
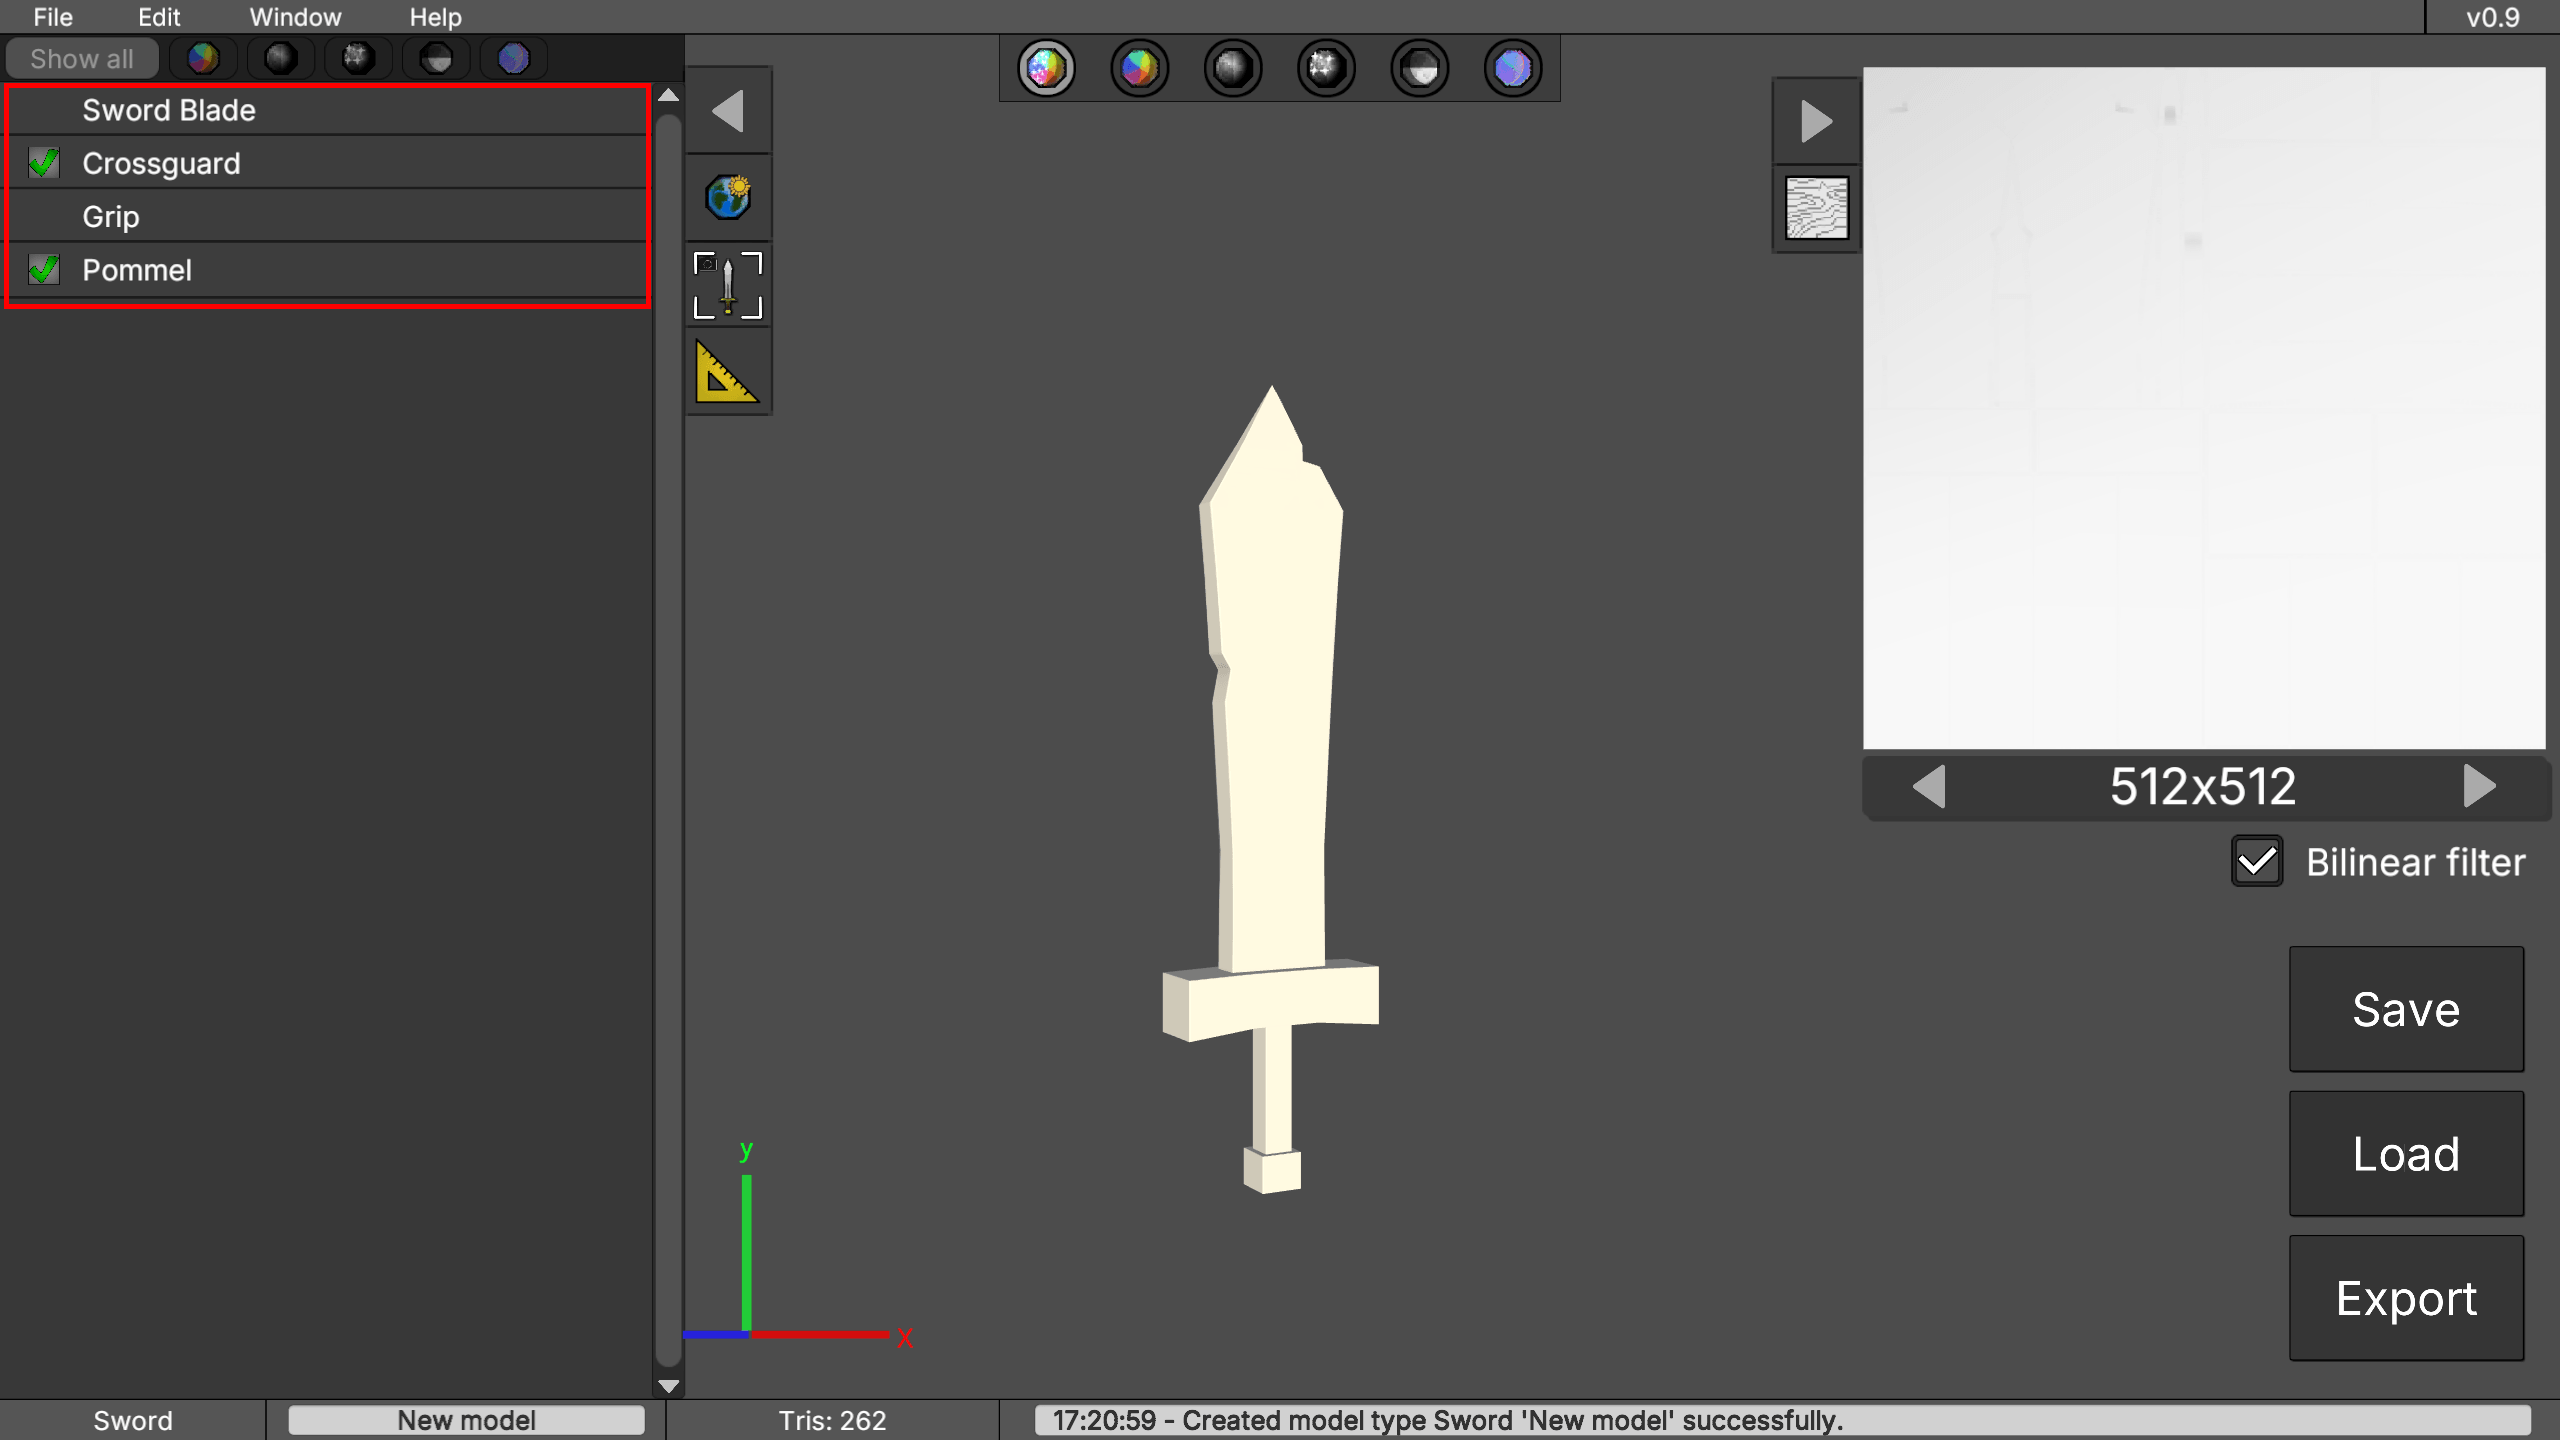
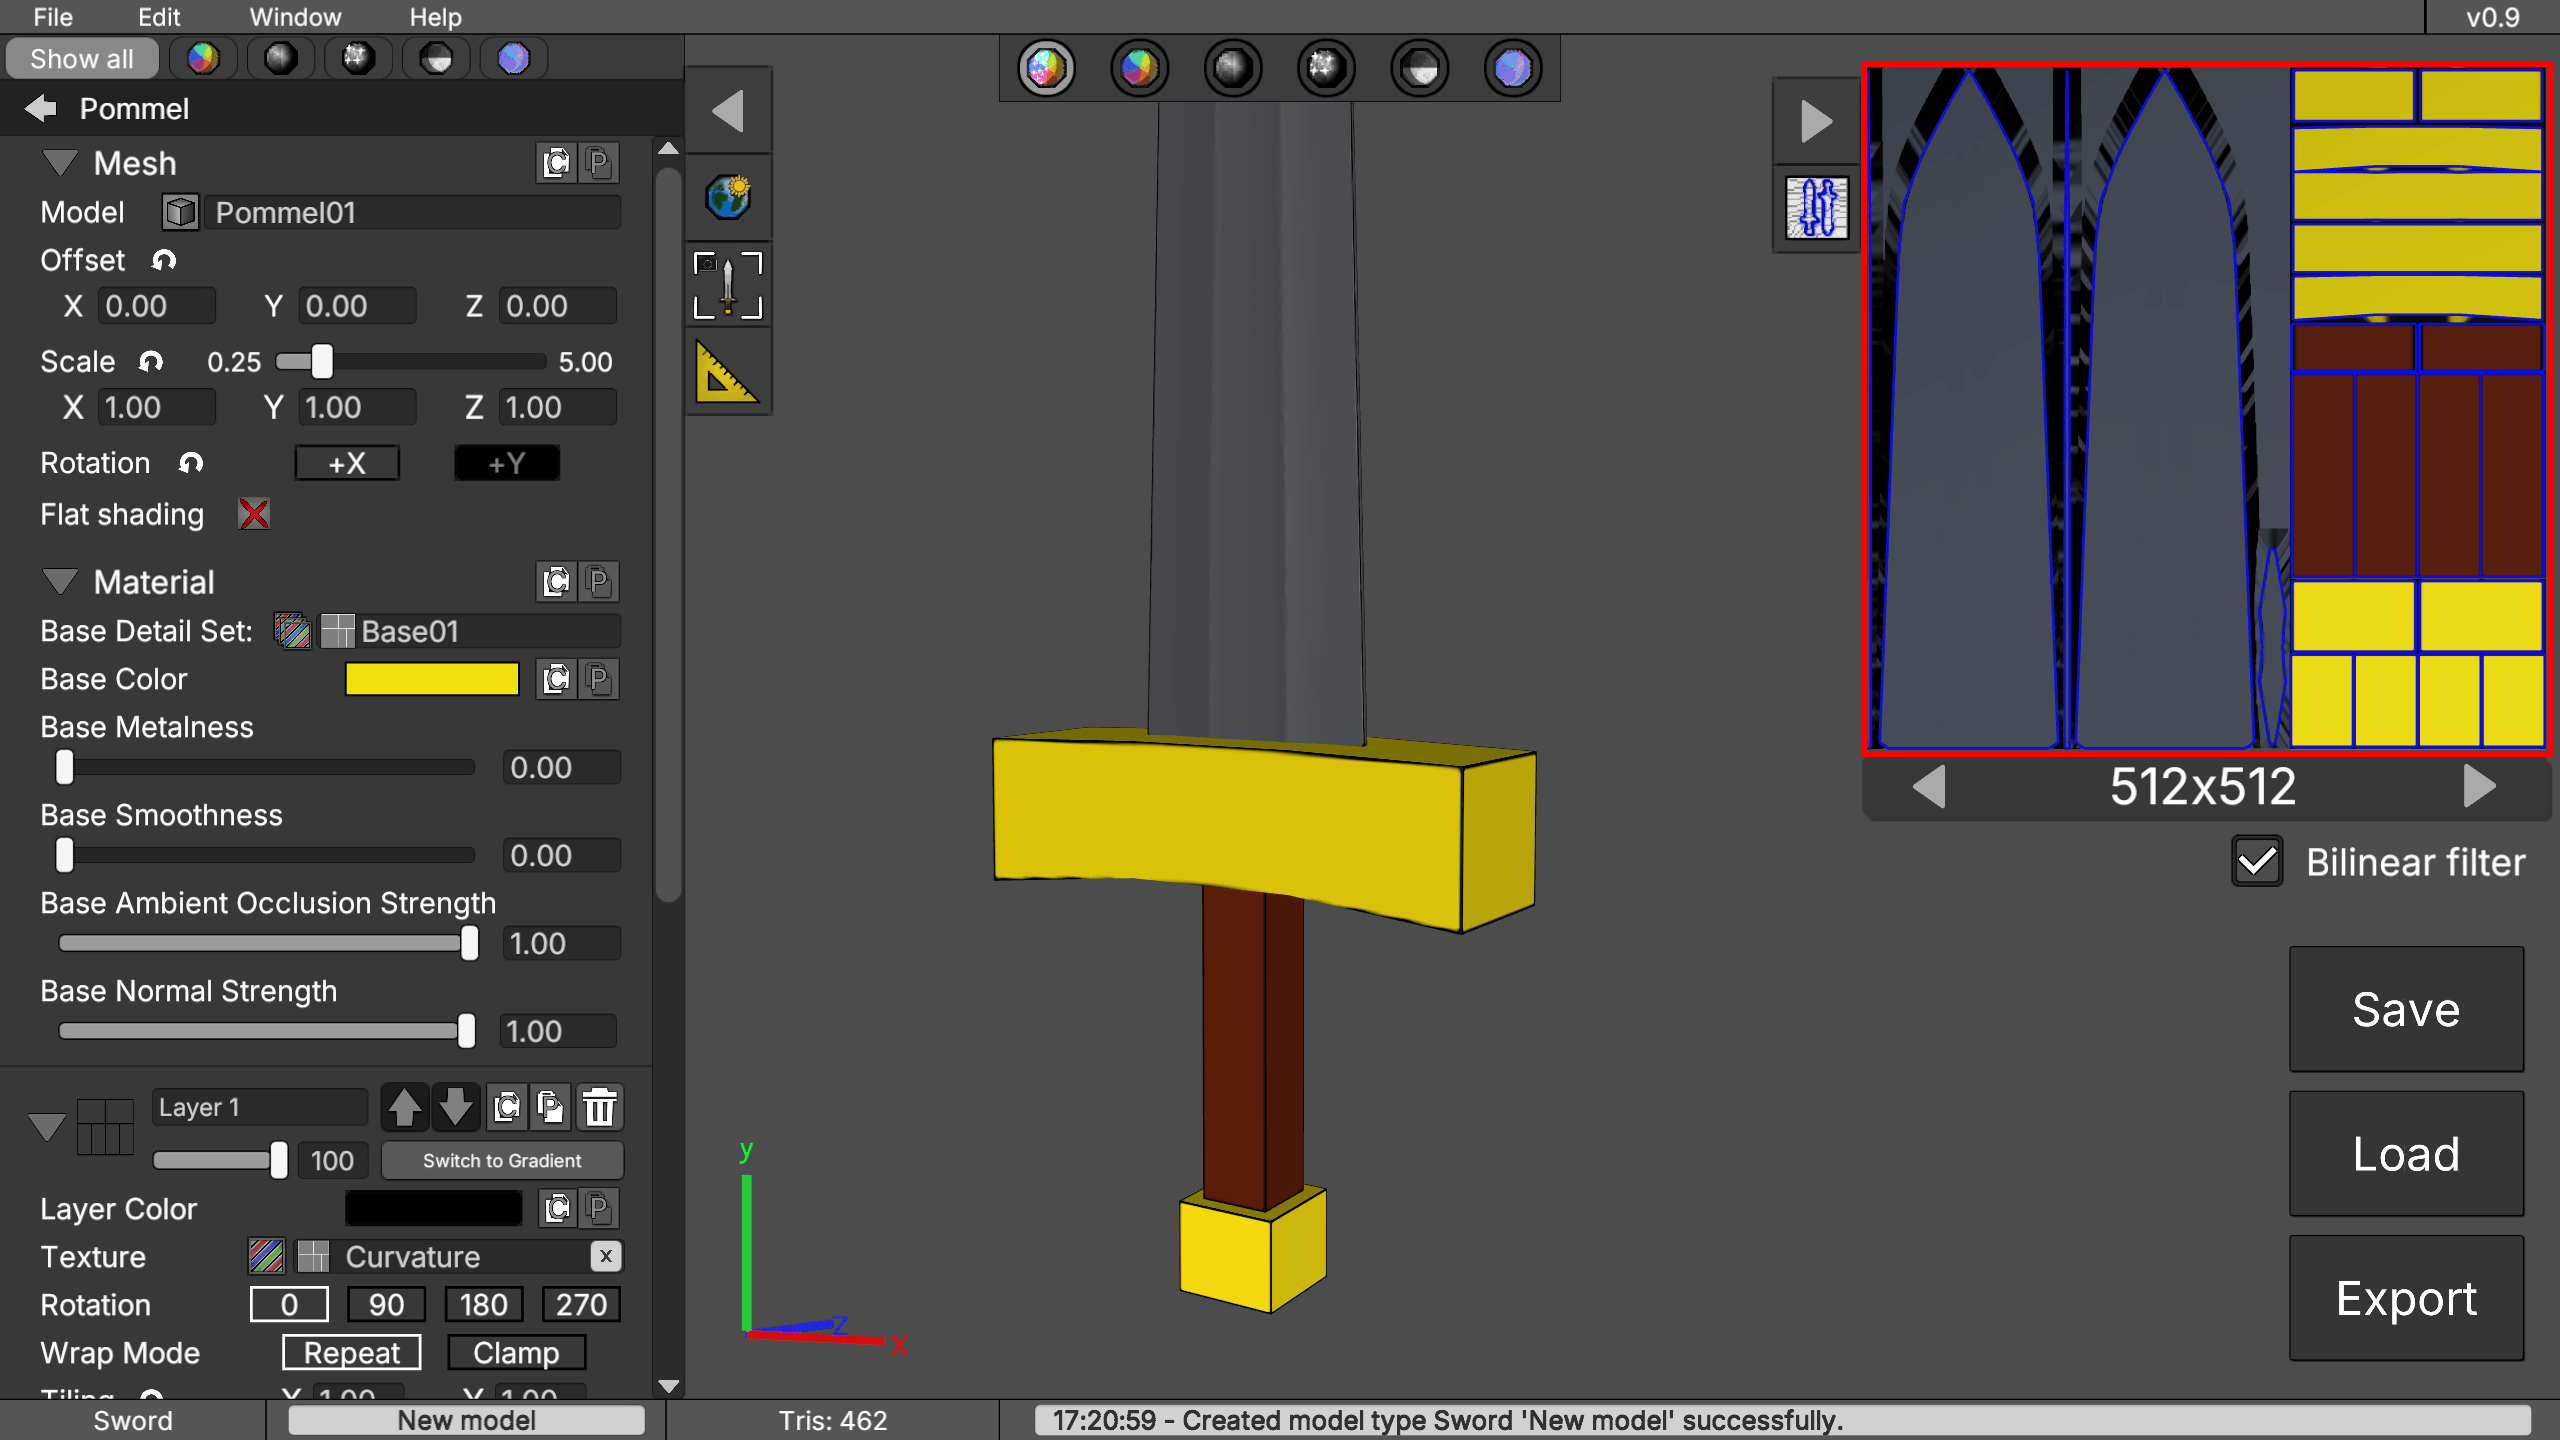
- Creating a new weapon opens this screen with the default white initial parts. To edit a part, click its name in the left panel. You can also disable parts such as the crossguard or pommel (green tick button) and still keep a valid sword or dagger model.
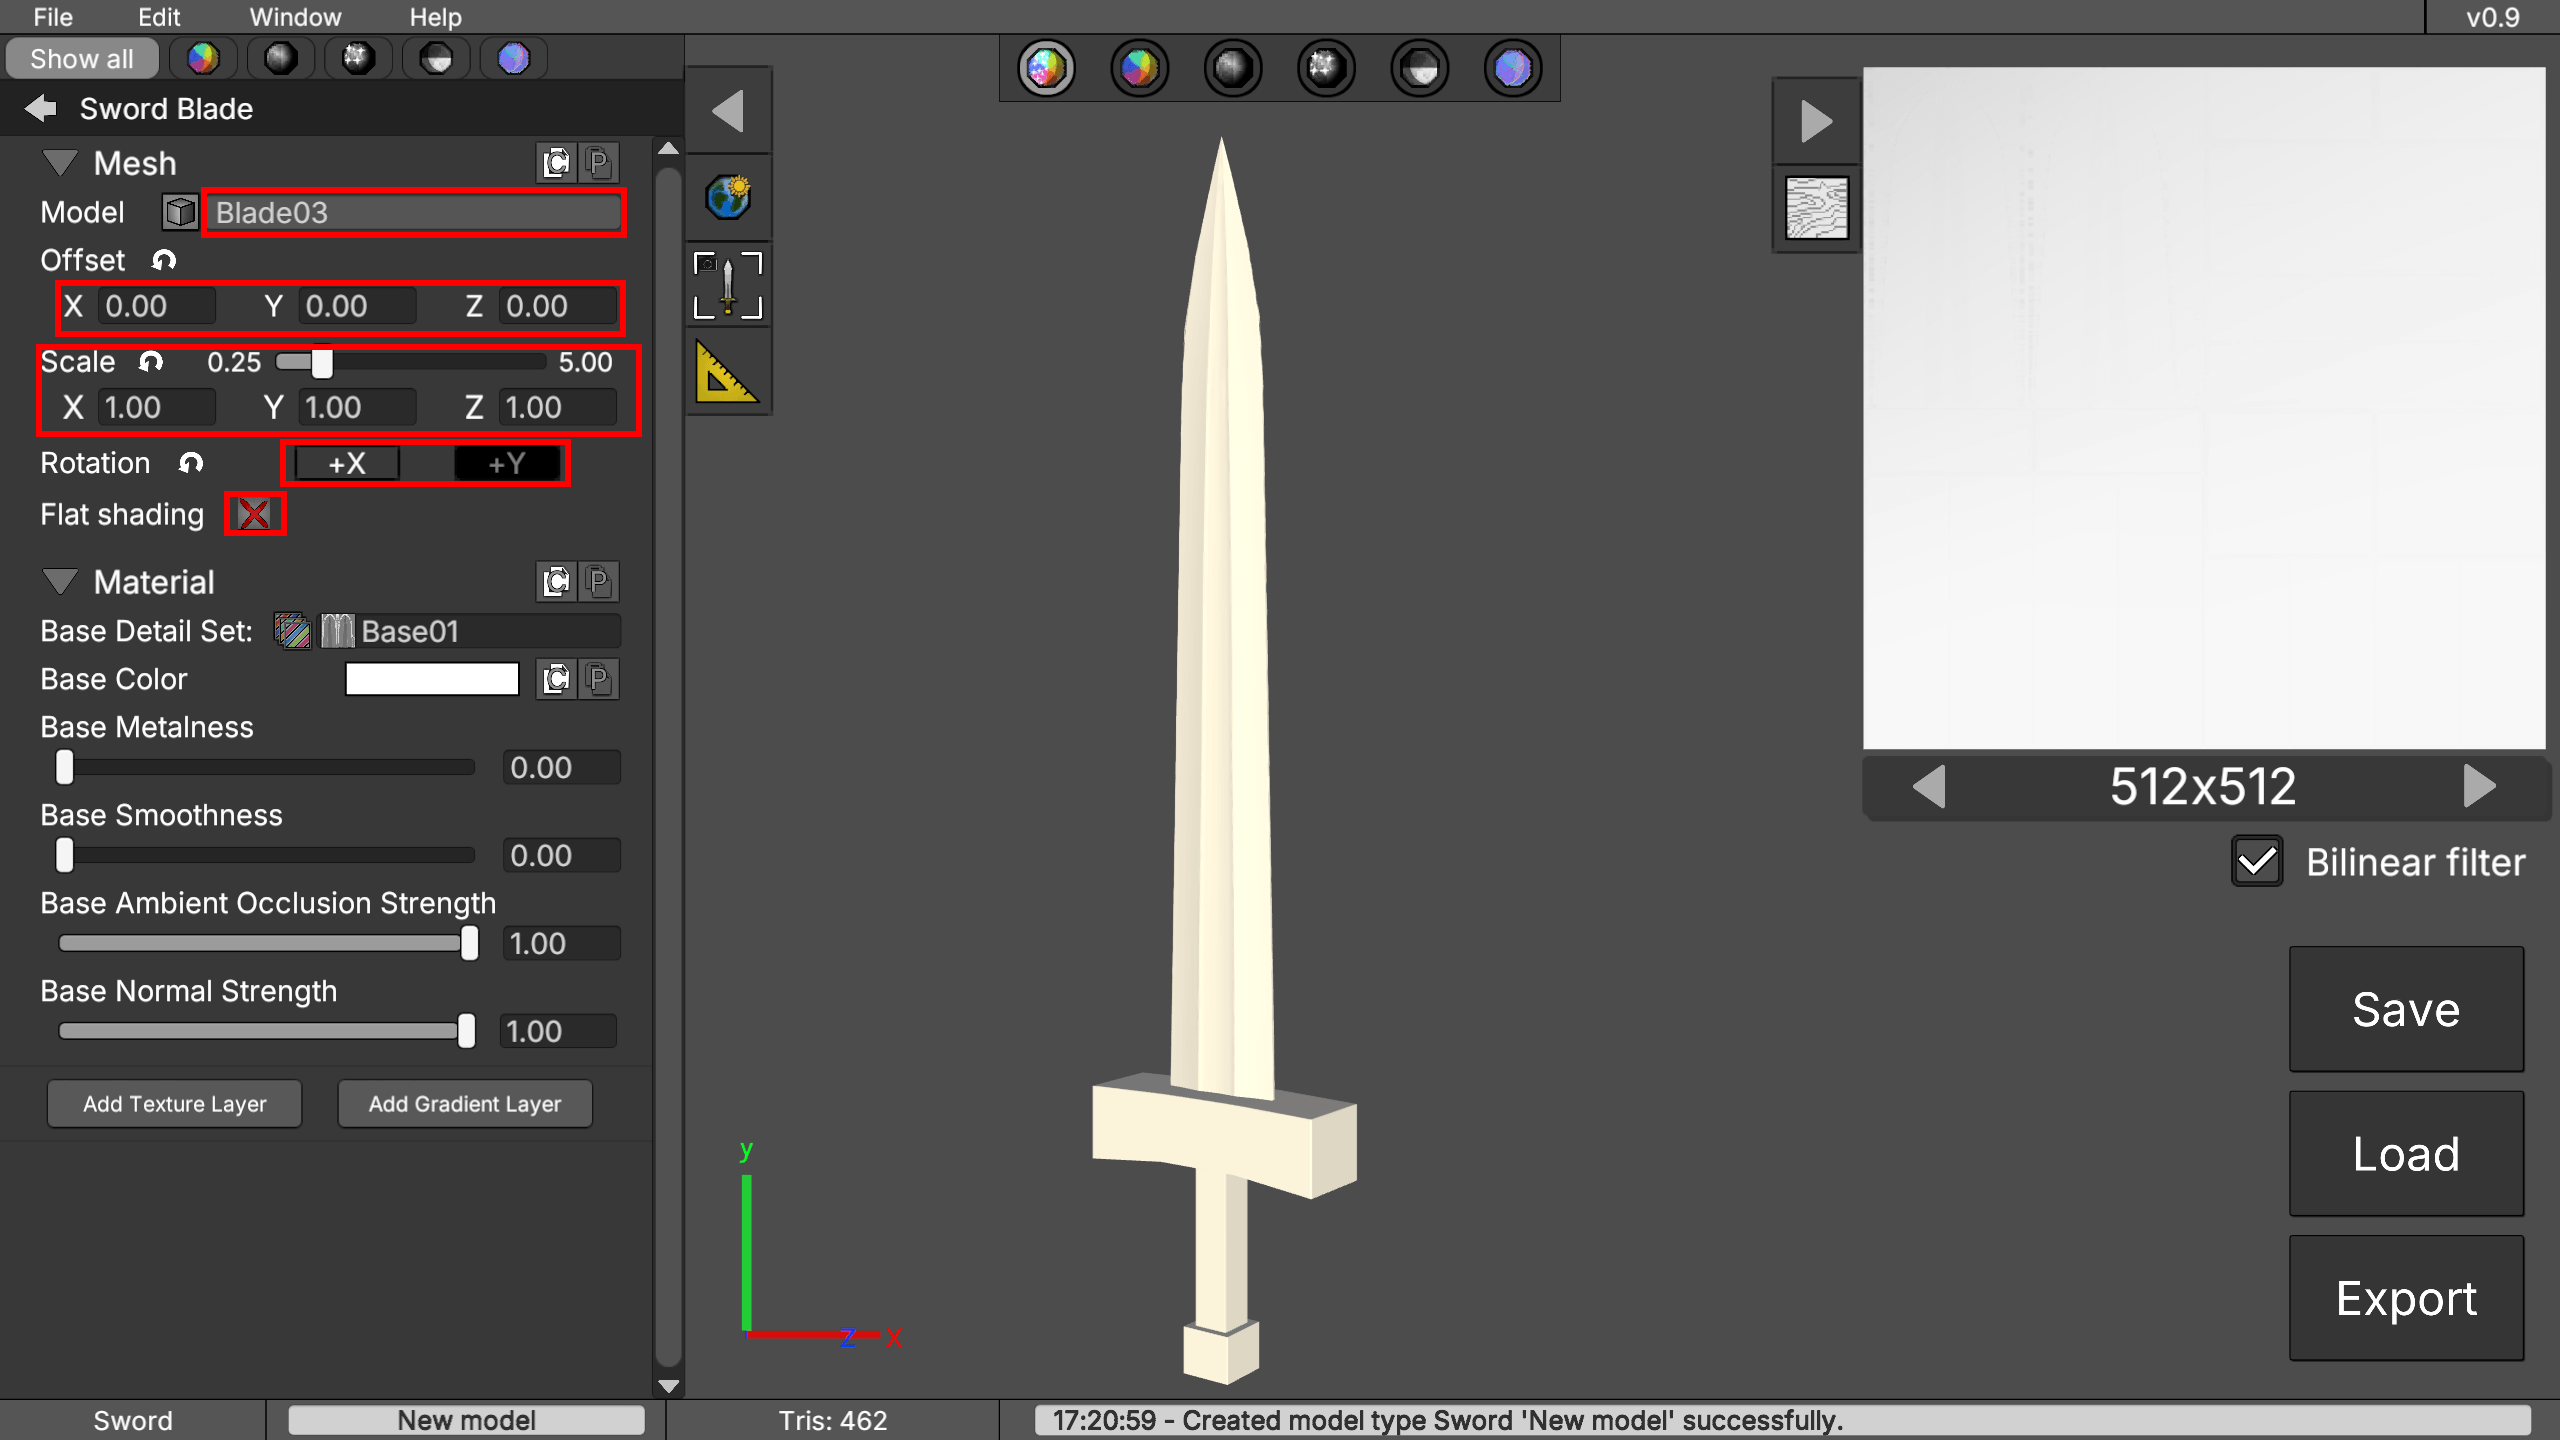
- Use these controls to open the model picker and change the mesh, then move, scale, rotate it, or enable flat shading (for a low-poly style).
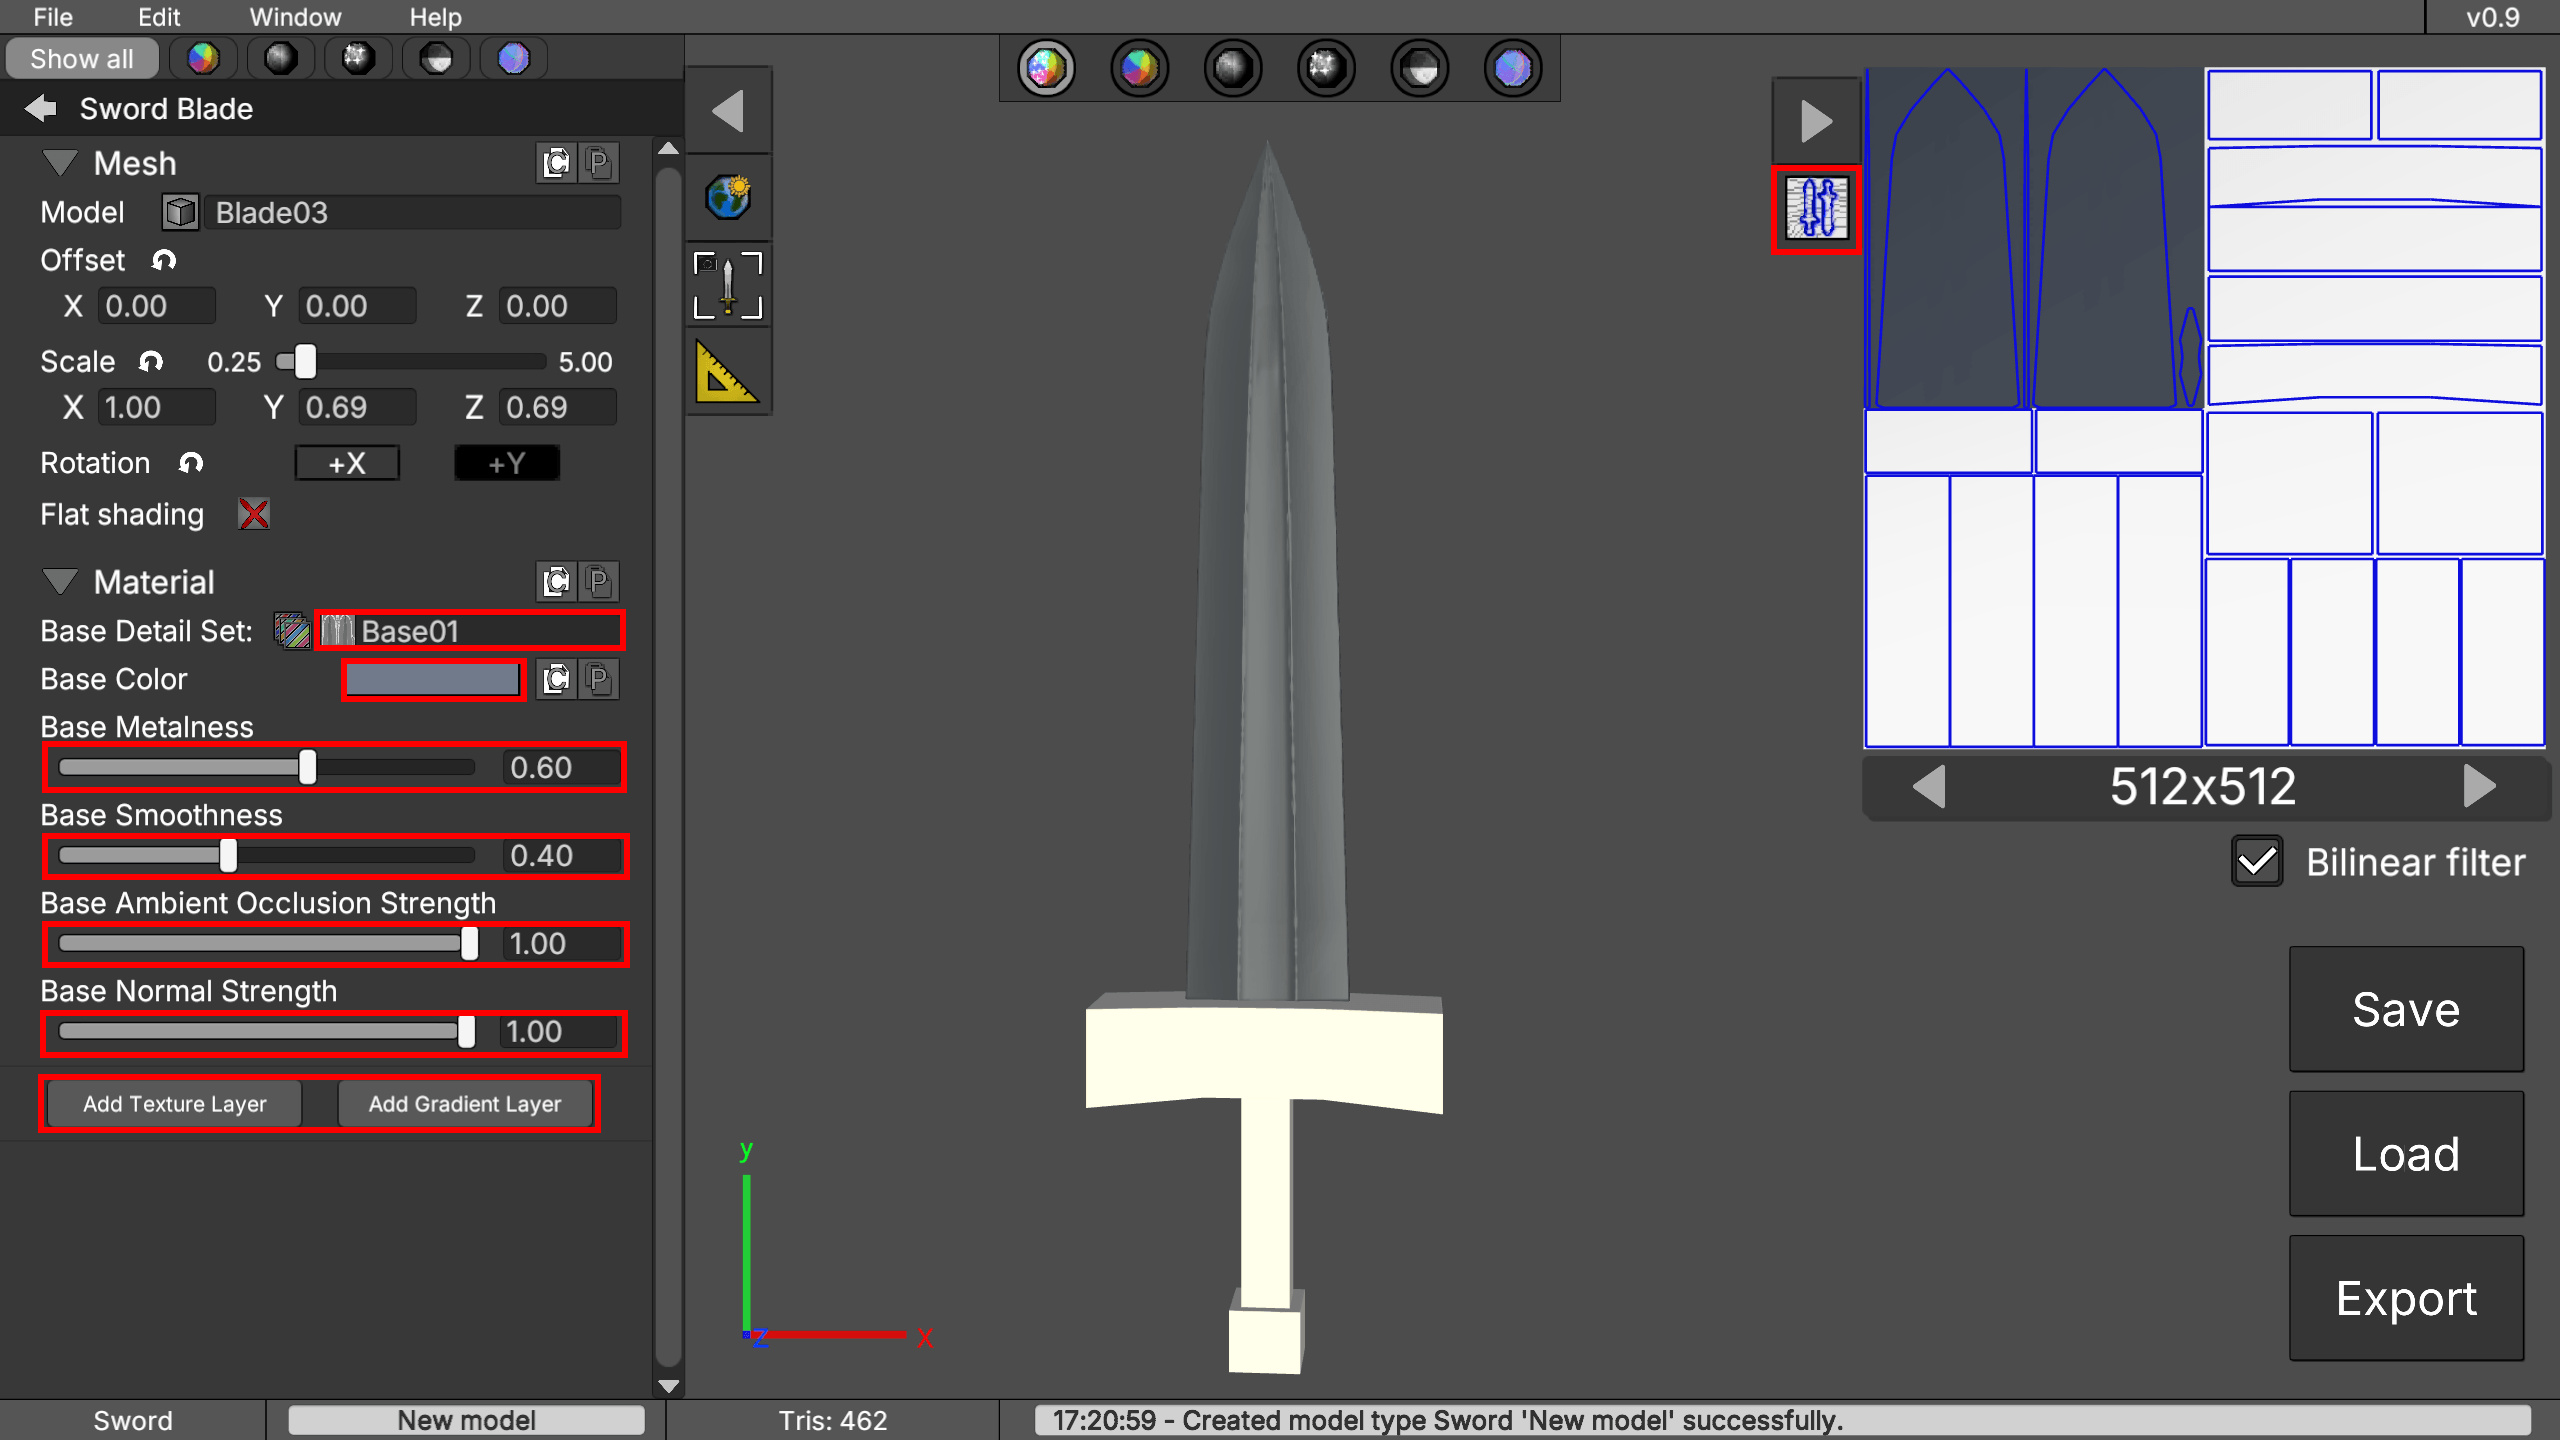
- Use the material controls to adjust color, base detail set, metalness, ambient occlusion, and normal intensity. It is also recommended to enable the UV layout while editing the material of the current model part. You can also add layers with additional colors and texture options using the "Add Texture Layer" and "Add Gradient Layer" buttons. You can change the layer type later, so don’t worry if you’re not sure which one to choose.
- Edit the other parts until you are satisfied with the result. Then review the UV layout and choose an appropriate texture resolution. You can move and scale the UV layout of each part. It is recommended that larger parts, such as the blade, use more UV space than smaller parts.
- Save your project to continue editing it later, then export it to FBX, OBJ, or glTF.
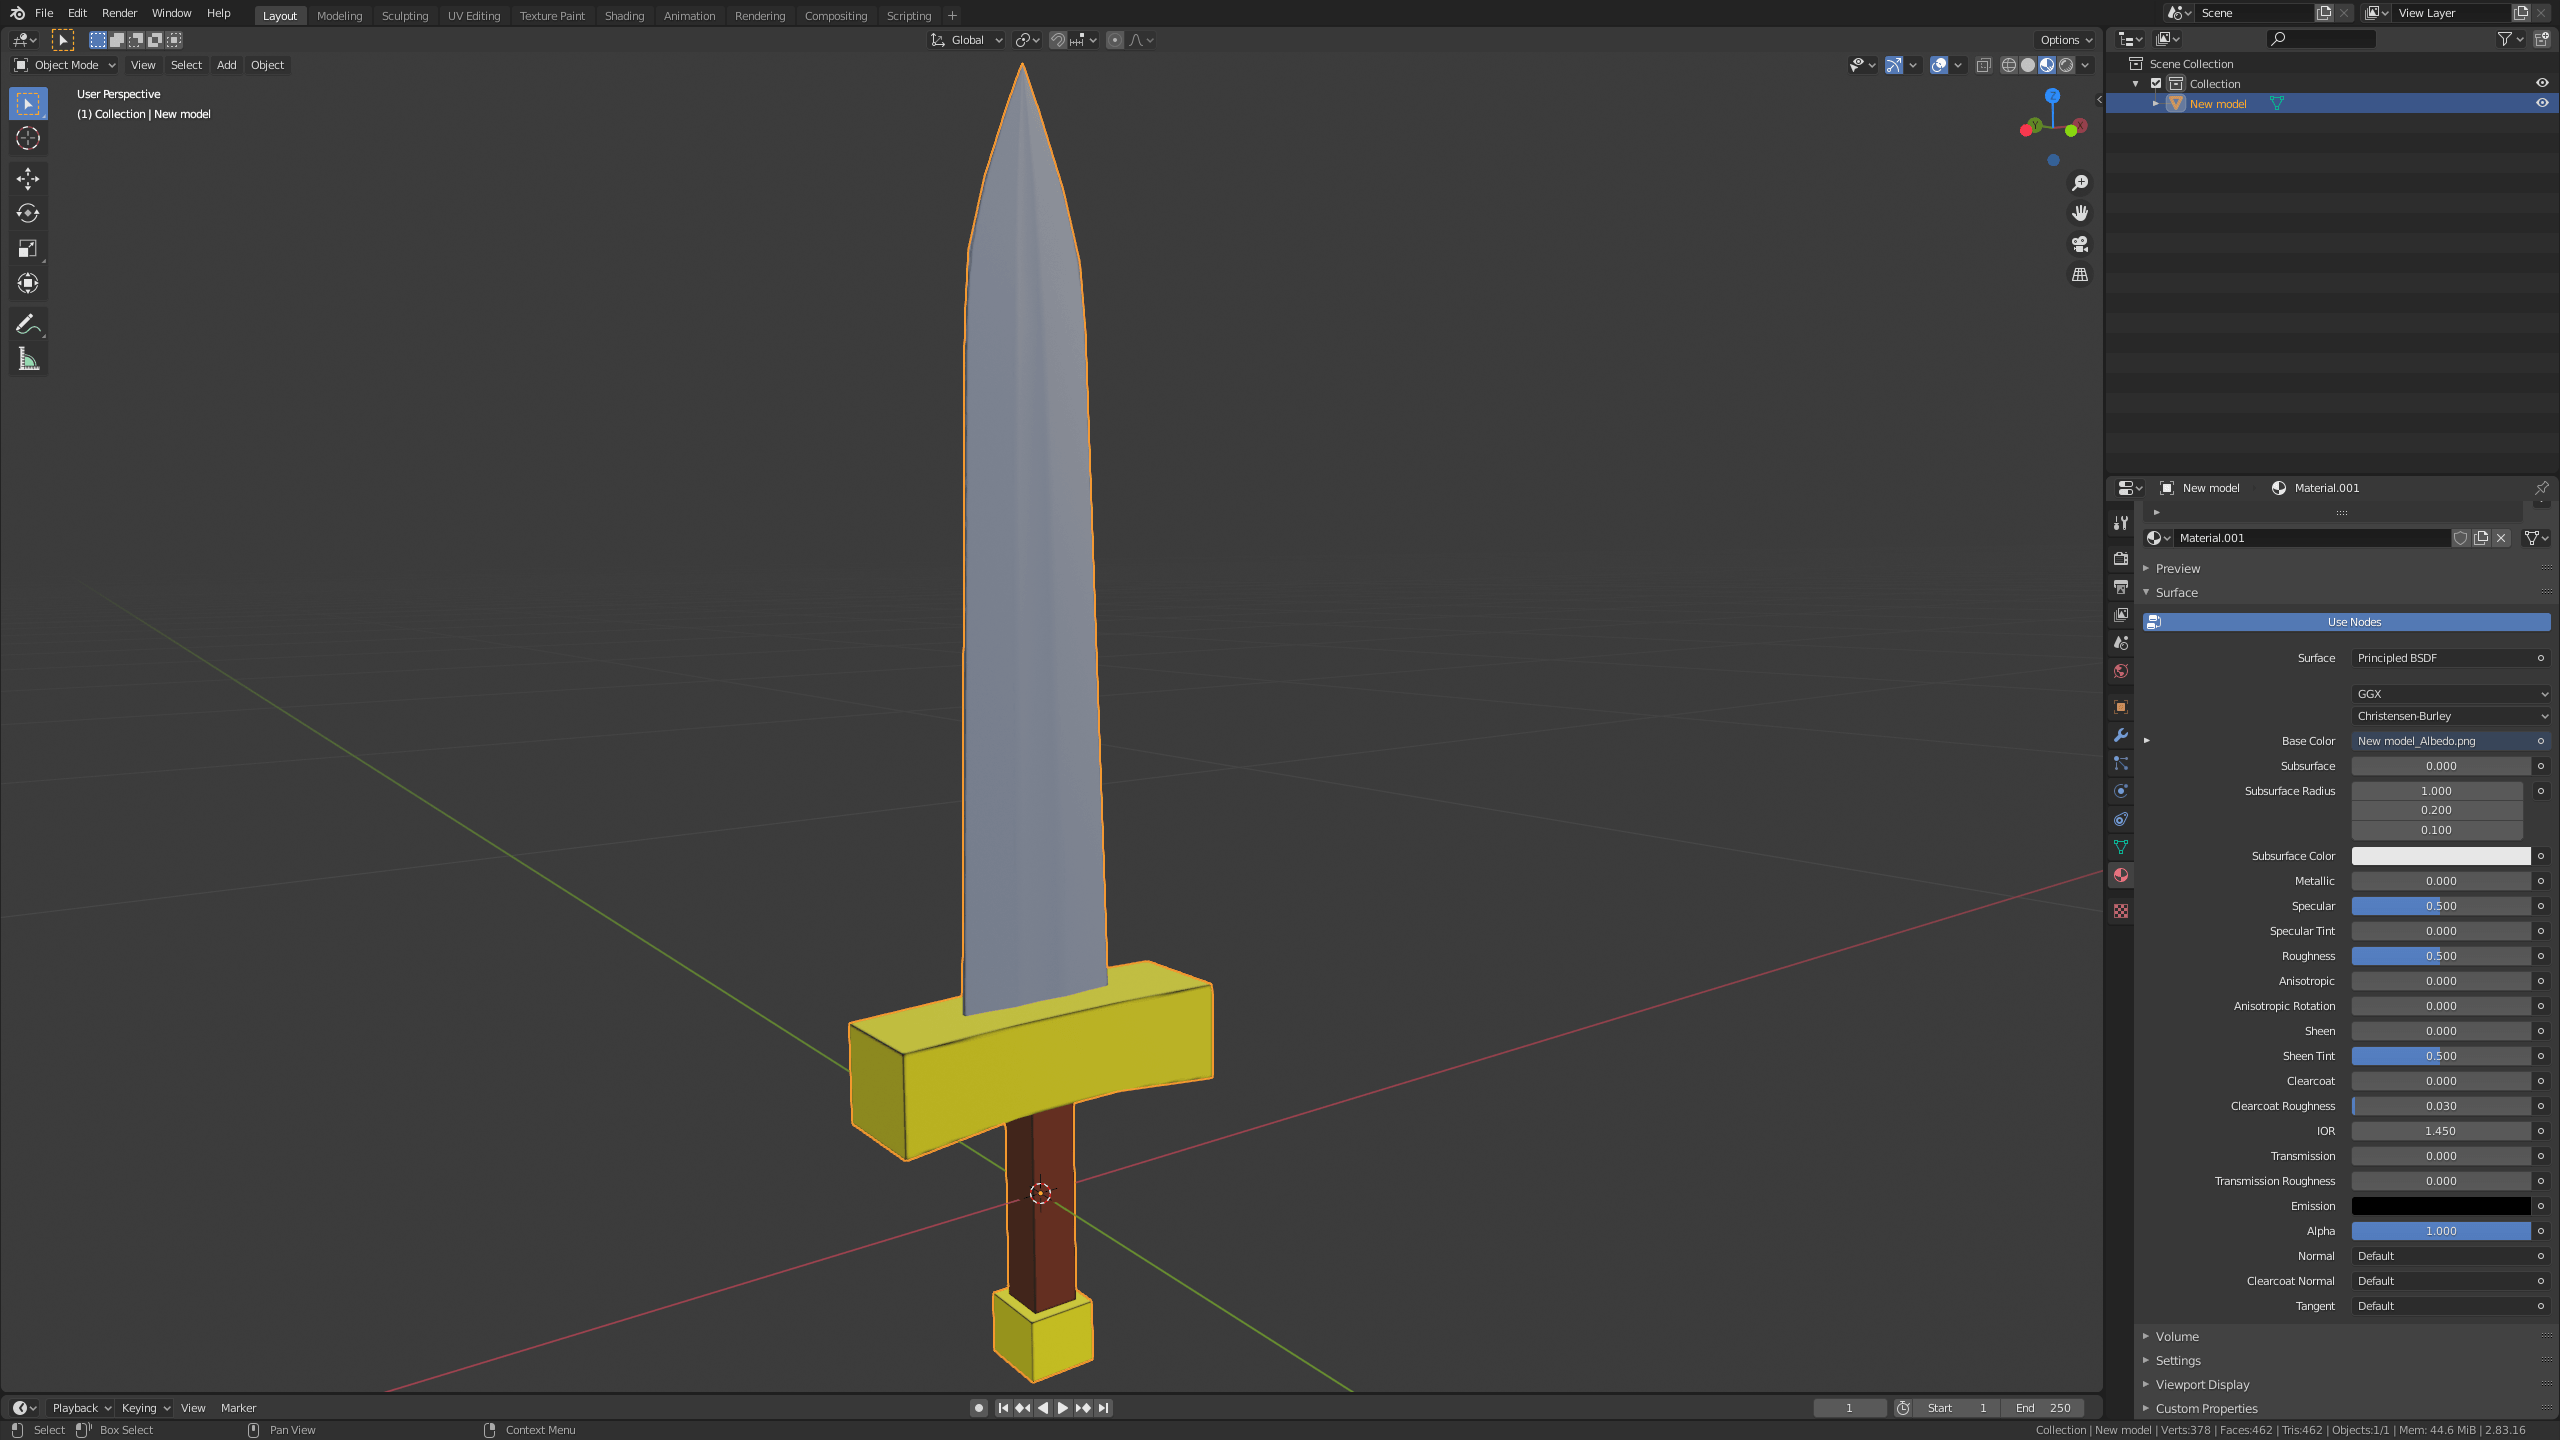
- Import the exported file into Unity, Unreal Engine, Godot, Blender, or your preferred toolchain.
2. Interface Overview
3. Mesh Controls
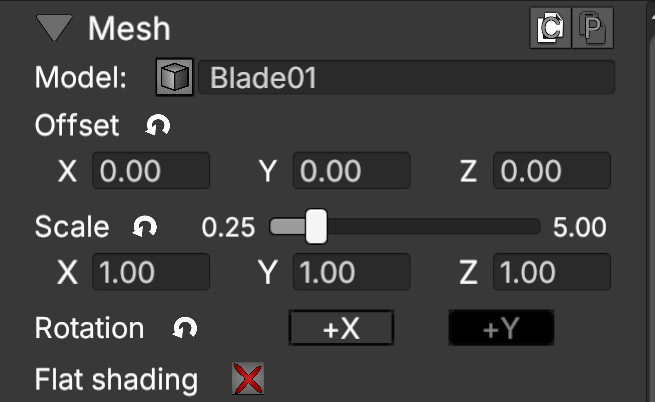
Model
Click this field to open the model picker. You can use it to change the part mesh.
Offset
Use the XYZ fields to adjust the model's position.
Scale
Use the slider to scale the model uniformly, or use the XYZ fields to scale each axis independently.
Rotation
Click the +X or +Y buttons to rotate the model 180° along the corresponding axis.
Flat Shading
Enables flat shading instead of smooth shading, useful for low-poly styles. For best results, reduce Normal strength to 0 when flat shading is enabled.

Resets the property value to its default.

Copies the mesh offset, scale, rotation and flat shading properties.

Paste copied properties to the current part (can be used to paste properties to a different part).
4. Material Controls
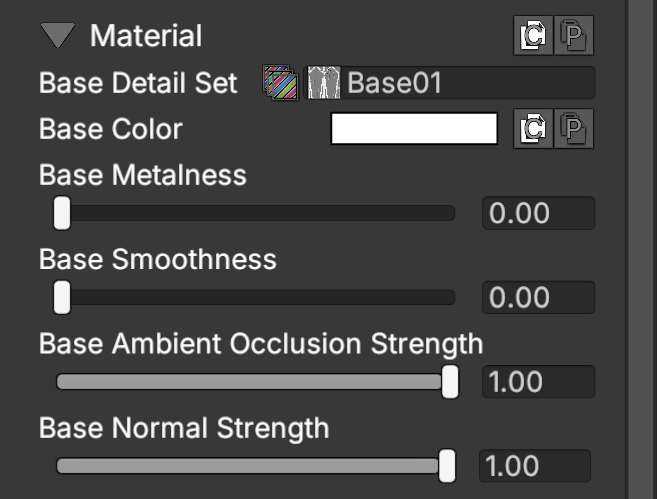
Base Detail Set
Click this field to open the detail set picker. A detail set is a group of texture maps (Curvature, Ambient Occlusion, and Normal) that share the same type of details.
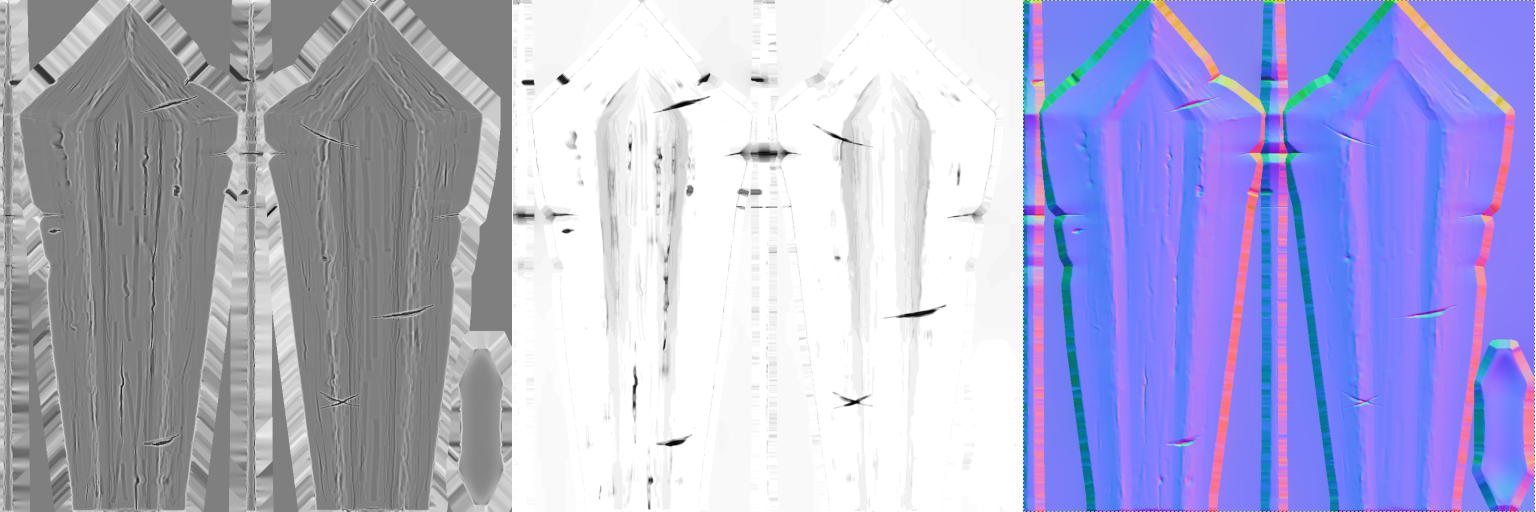
Example of a detail set, from left to right: Curvature Map, Ambient Occlusion Map, Normal Map.
Base Color
Sets the base color of the material.
Base Metalness
Adjusts the material’s metalness. For metallic parts, a value between 0.4 and 1.0 is recommended.
Base Smoothness
Adjusts the material’s smoothness. This determines how light reflects depending on the metalness value. Higher smoothness produces clearer and more defined reflections, while lower smoothness makes the material appear more matte.
Base Ambient Occlusion Strength
Controls the strength of the ambient occlusion from the current detail set. Ambient occlusion simulates soft, subtle shadows in corners, cracks, folds, and contact areas where ambient light has more difficulty reaching.
Base Normal Strength
Controls the strength of the normal map from the current detail set. Normal maps simulate surface details, such as cracks, wrinkles, bumps, or relief, without increasing the model’s geometric complexity.
(Material) Copies the current material settings (detail set, color, metalness, smoothness, occlusion strength, and normal strength).
(Color) Copies the current color.
(Material) Pastes the copied settings to the current material (can also be applied to other parts).
(Color) Pastes the current color in any color field.
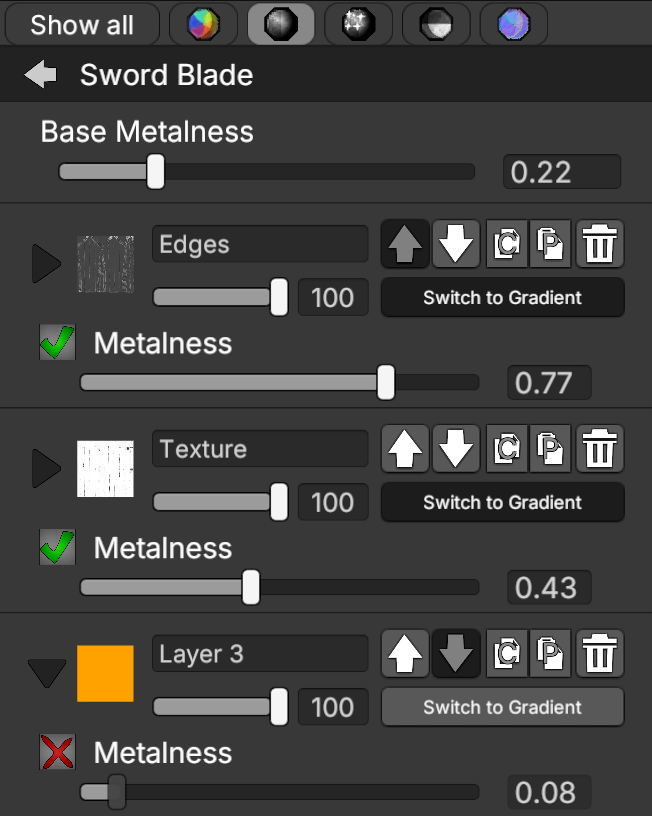
5. Layer Controls

Add Texture Layer
Creates a new layer with a main texture. This texture can be adjusted and customized with various effects. It can come from the current or another detail set, an ID mask, or the texture library.
Add Gradient Layer
Creates a new layer with a customizable gradient that can be adjusted using various effects.
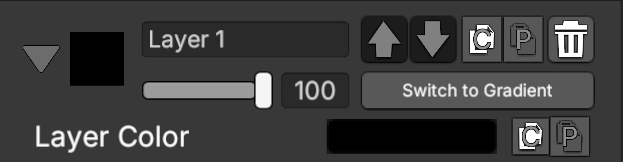
Visibility Slider
Use the slider below the layer name field to control the layer’s visibility.
Switch to Gradient/Texture
Switches between Texture and Gradient layer types, displaying the corresponding controls.
Layer Color
Sets the color of the layer. This directly affects the current texture or gradient.
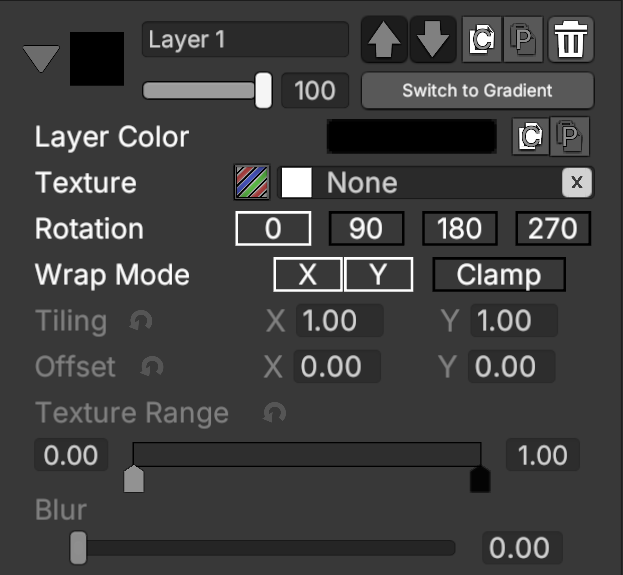 Texture Layer Controls
Main texture field. Click it to open the texture picker.
Texture Rotation
Rotates the current texture by 90°, 180°, or 270°.
Texture Wrap Mode
Sets texture wrapping to repeat (X/Y) or clamp.
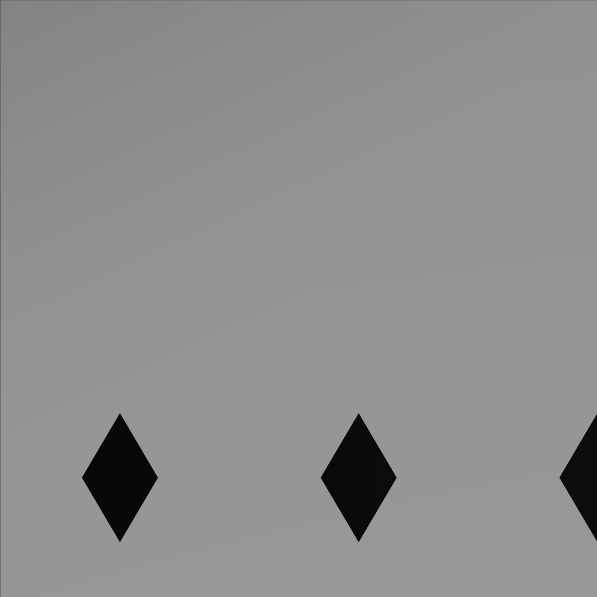 Wrap Mode Repeat X
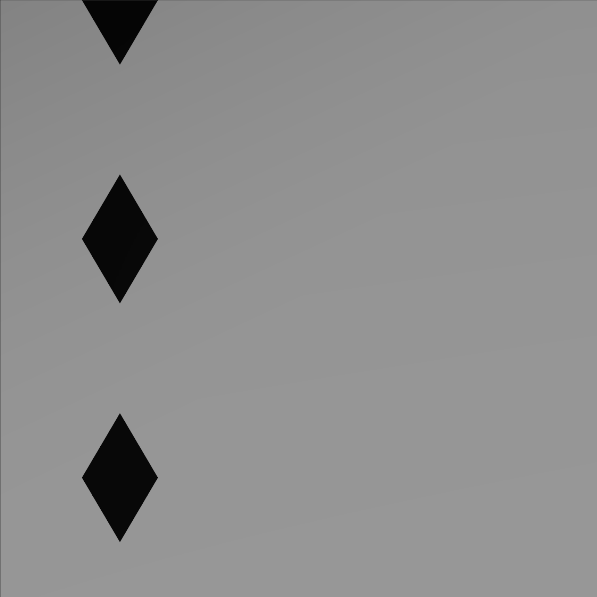 Wrap Mode Repeat Y
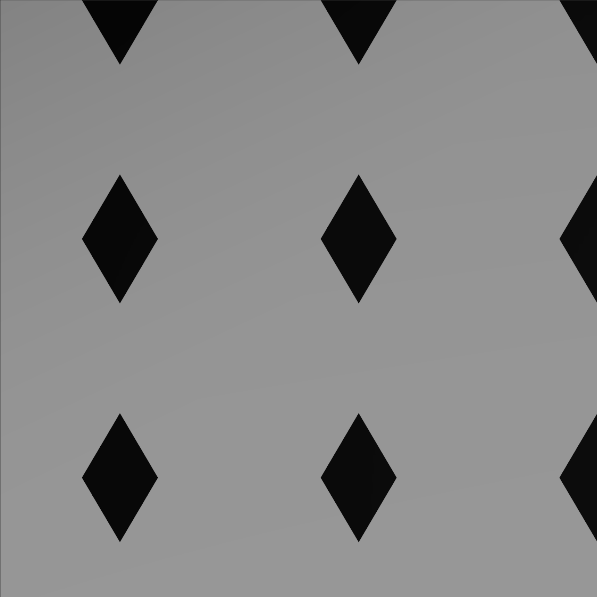 Wrap Mode Repeat X and Y
 Wrap Mode Clamp
Texture Tiling and Offset
Controls the texture’s size and position. Increasing the tiling value makes the texture appear smaller, while decreasing it makes the texture appear larger.
Texture Range
Controls the texture levels. Adjusting the range changes how many pixels are visible. Swapping the handles inverts the colors. In very dark or very bright textures, the levels may need to be adjusted within a very narrow range to reveal visible details
Blur
Controls the amount of blur applied to the main texture.
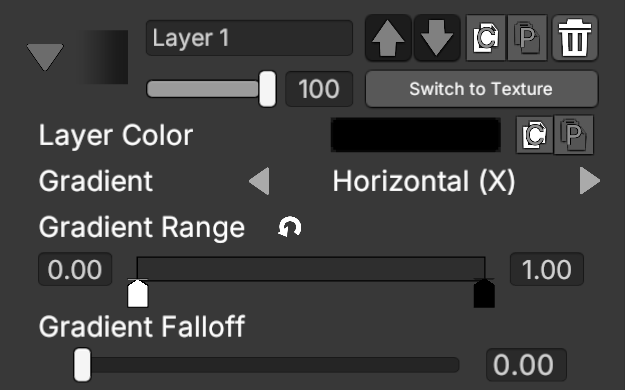 Gradient Layer Controls
Switches between four gradient types: Horizontal, Vertical, Depth, and Radial.
Gradient Range
Sets the range of the gradient using two handles, defining where the gradient begins and ends.
Gradient Falloff
Adjusts how gradually the gradient transitions between colors.
 Common Layer Controls
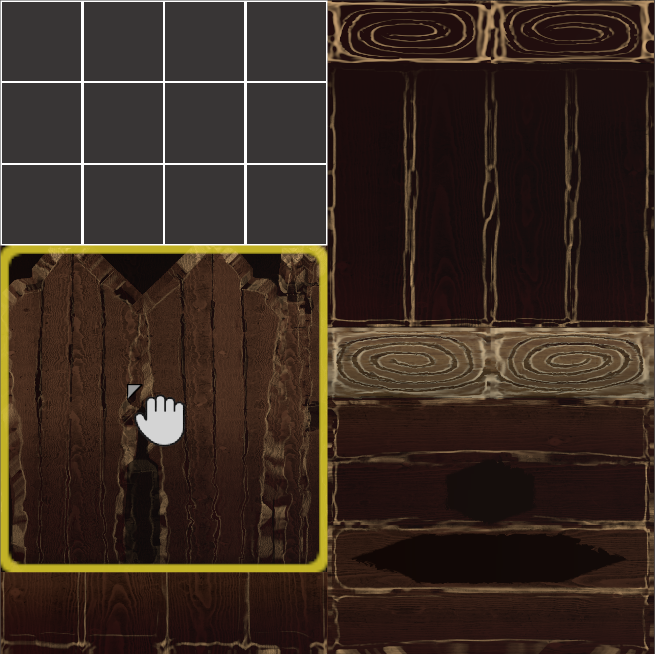
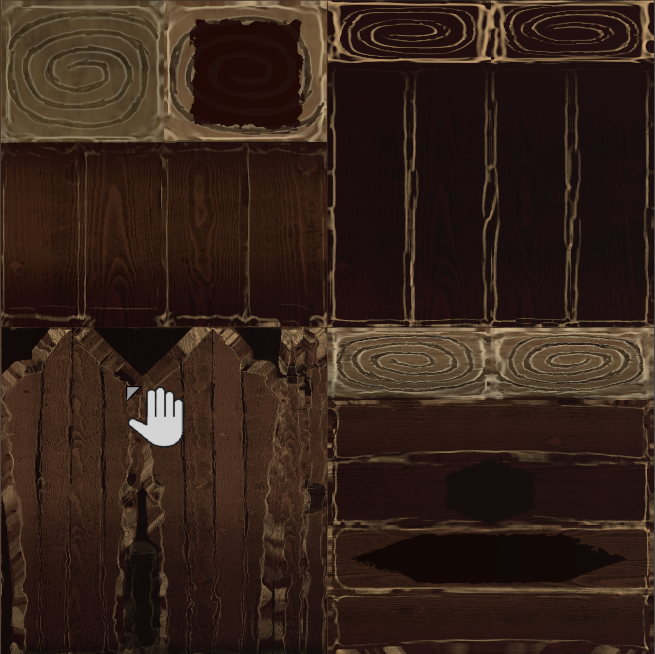
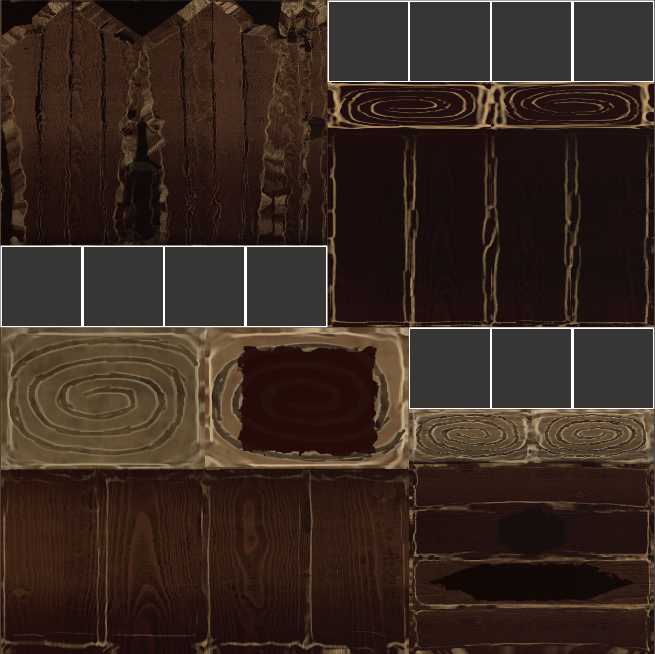
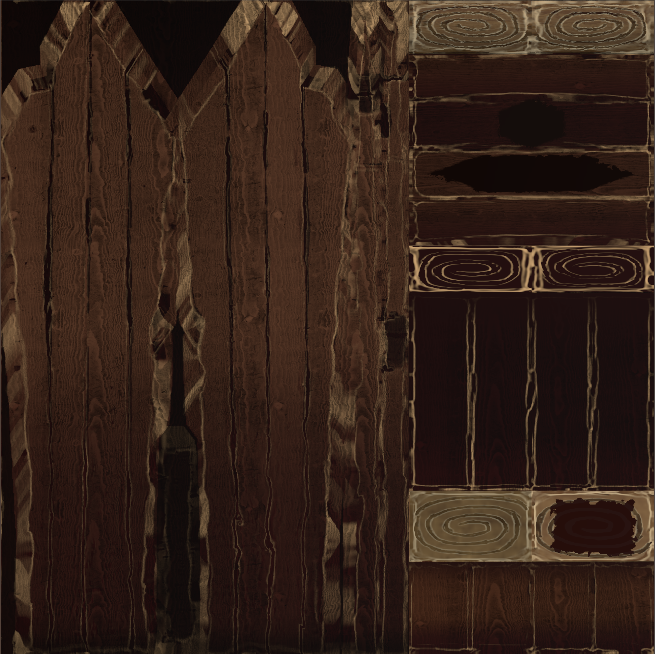
Warp Texture
Applies distortion to the main texture or gradient using another texture. The warp texture has its own tiling and offset controls, as well as intensity and scale sliders. Intensity controls the strength of the distortion, while scale adjusts the size of the distortion pattern.
 Example without warp texture
 Example with active warp texture
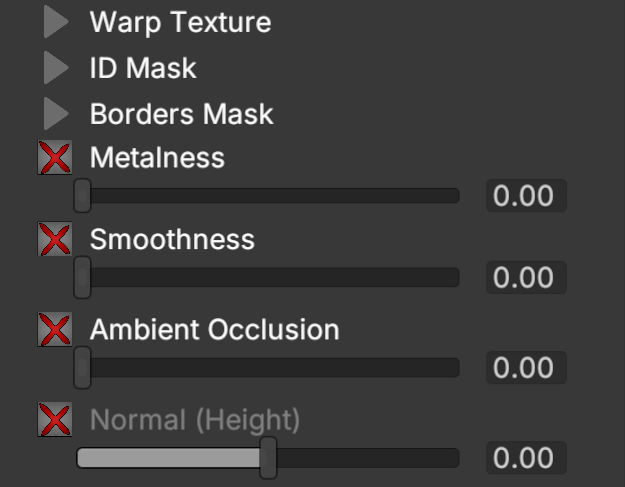
ID Mask
Uses a texture to mask the layer, restricting the texture and its effects to specific areas of the model. ID mask textures are derived from the mesh, and each model has its own set. Includes Falloff and Blur sliders to adjust the mask edges, as well as an option to invert the mask.
Borders Mask
Creates a rectangular mask defined by size and offset values, without using a texture. Includes an option to invert the mask and a falloff slider to smooth its edges.
Metalness
Enables metalness affecting the texture or gradient and controls its value with a slider. When disabled, the metalness from the underlying layer is used instead.
Smoothness
Enables smoothness affecting the texture or gradient controls its value with a slider. When disabled, the smoothness from the underlying layer is used instead.
Ambient Occlusion
Enables ambient occlusion and controls its value with a slider. Adjusting the slider makes the ambient occlusion texture darker or brighter, affecting how much light is occluded on the surface. When disabled, ambient occlusion value from the underlying layer is used instead.
Normal (Height)
Simulates surface height by making the texture appear raised or recessed. Not available for gradient layer types.


Moves the layer up or down, changing its order and how it affects the material.

Removes the layer.
Resets the property value to its default.

Inverts the property value.
(Layer) Copies the current layer properties and textures.
(Color) Copies the current color.
(Layer) Pastes the copied layer properties and textures to any other layer (can also be applied to other parts).
(Color) Pastes the current color in any color field.
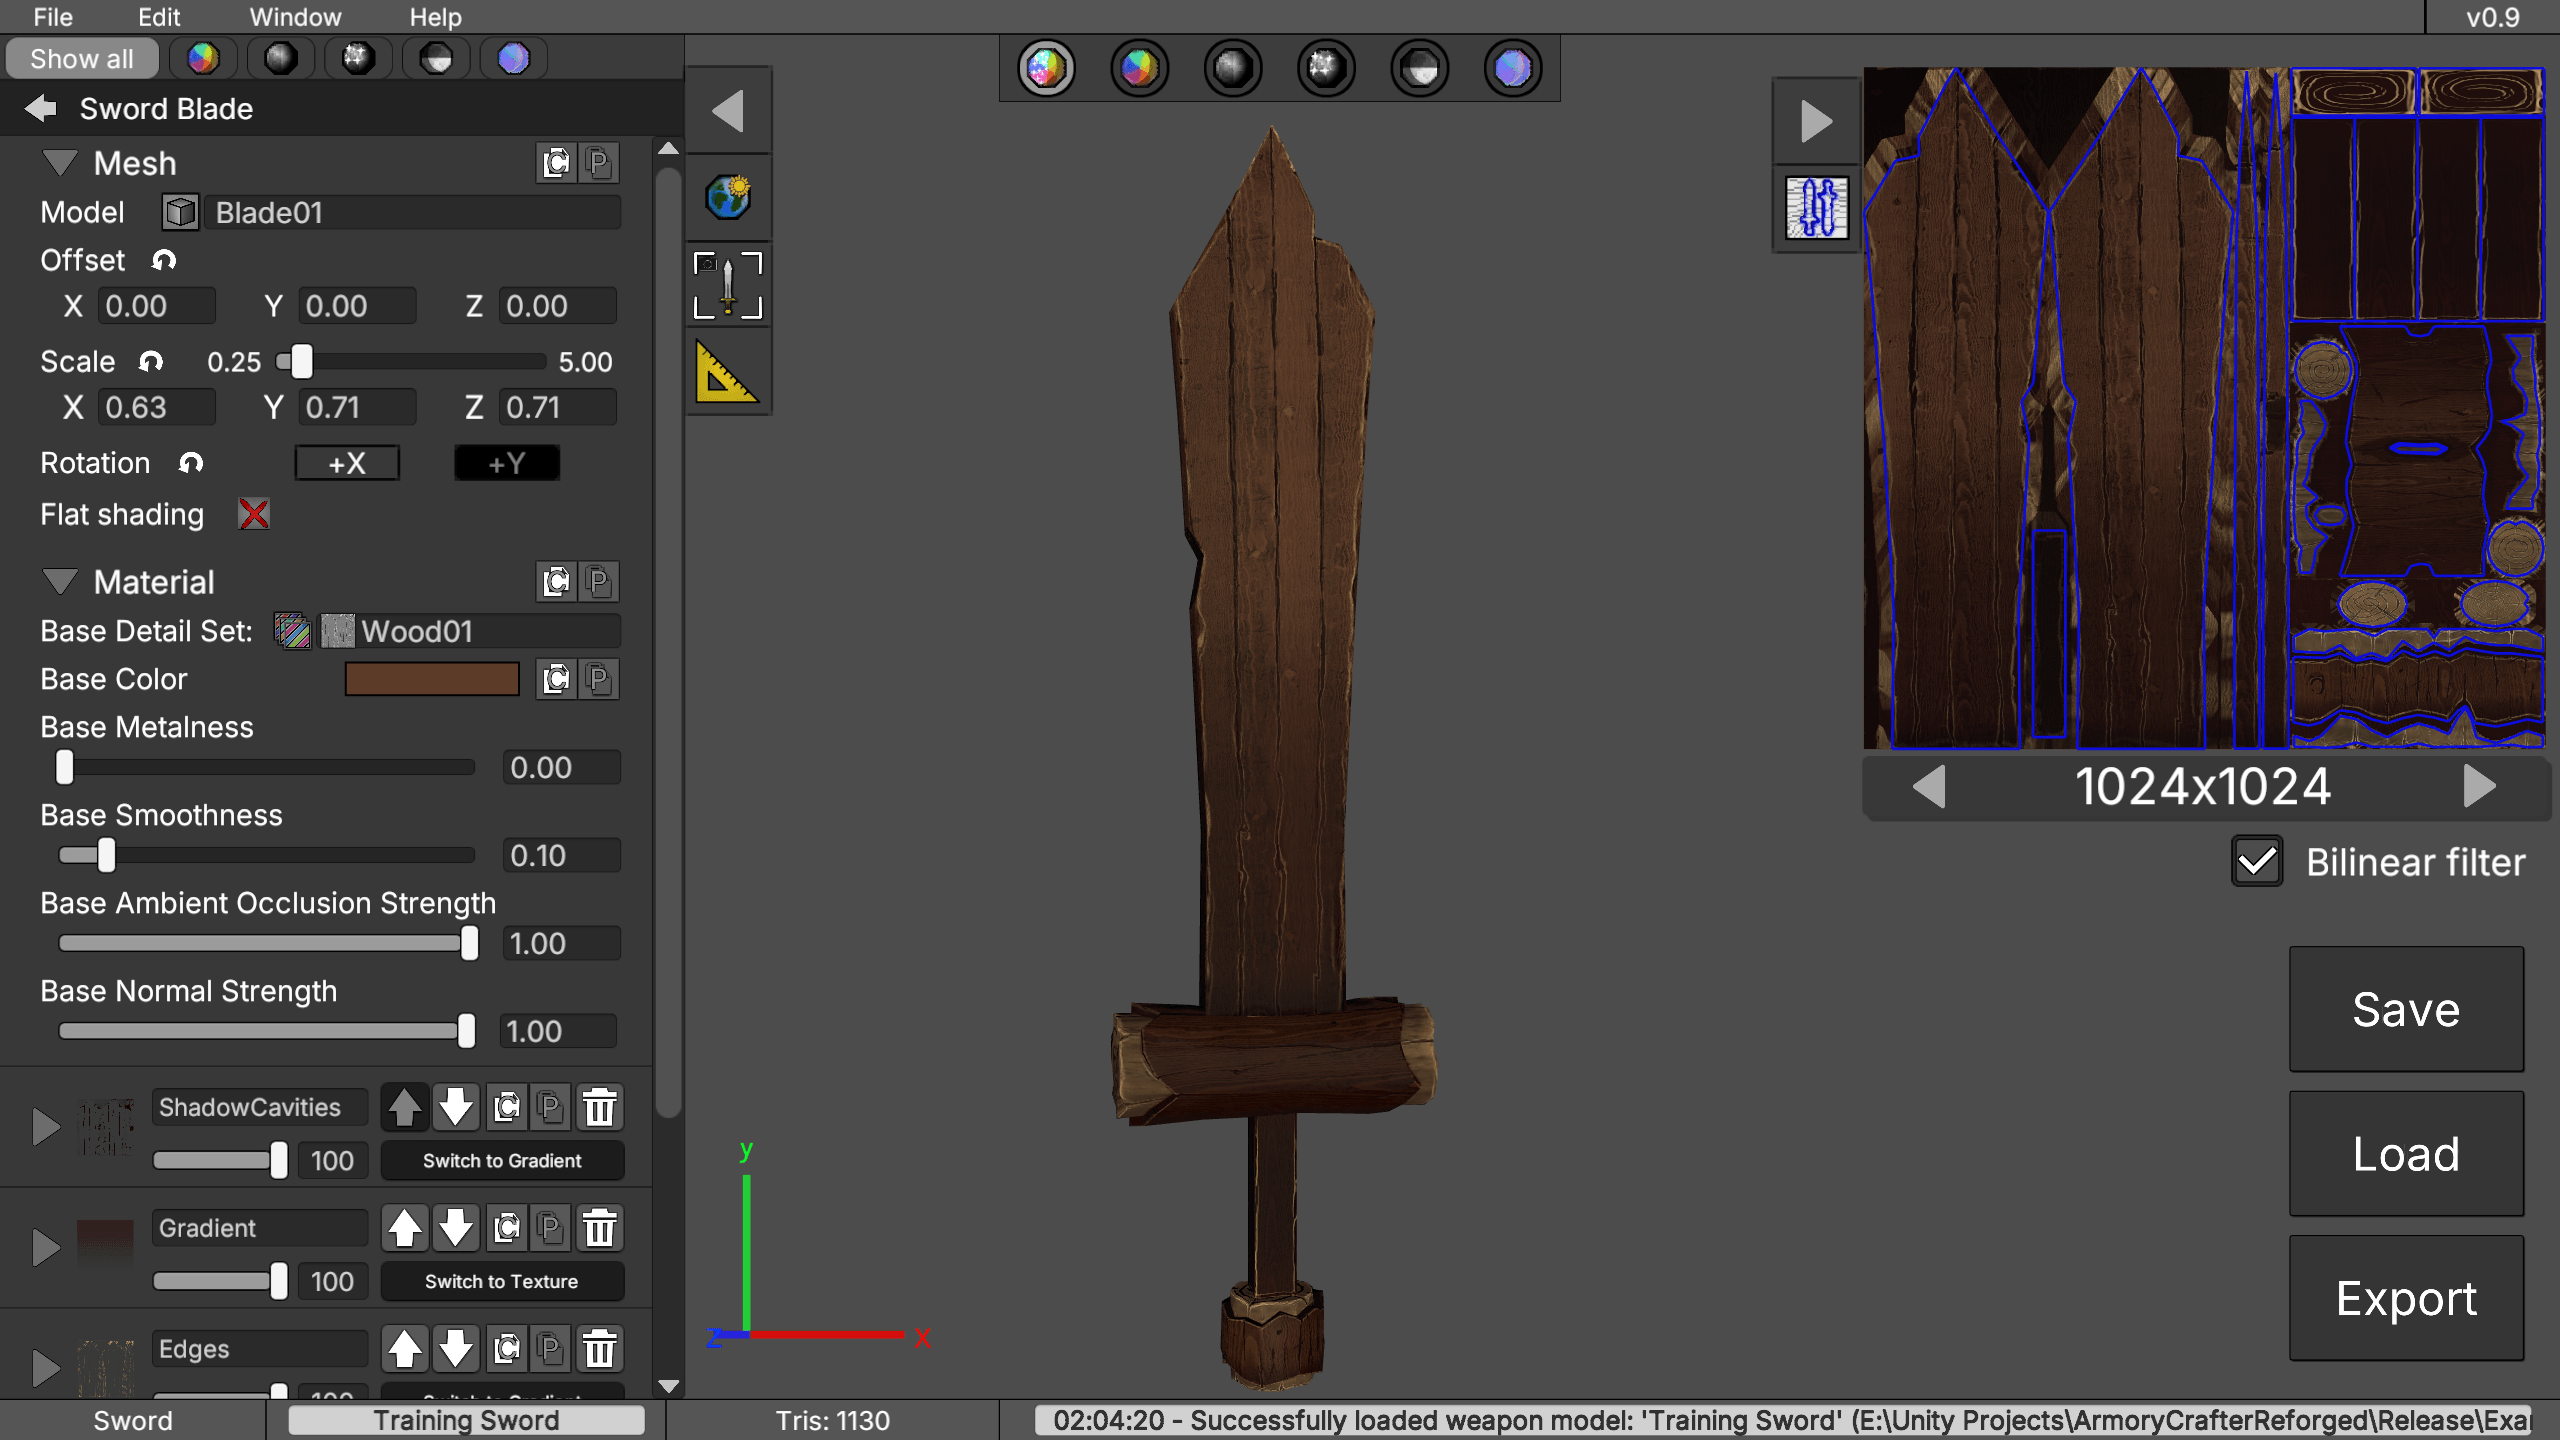
6. Texturizing Tips
- Use Curvature and Ambient Occlusion maps to highlight edges and add depth and shadow.
- Use Warp Texture to create unique effects and variations.
- Use gradients to add variation, materials without gradients can appear flat and uninteresting.
- Add dirt and grunge textures to increase realism.
- Use metalness and smoothness appropriately to achieve the desired material response.
7. Render Modes
Render Modes are useful for editing individual properties, especially when used alongside the Properties Filter.

FULL RENDER: Displays the final material, including color, metalness, smoothness, normal (surface height), and ambient occlusion.

ALBEDO / DIFFUSE: Displays only the base color of the material. This is the texture exported as the Albedo/Diffuse map.

METALNESS: Displays the metalness values. This is the texture exported as the metalness map.

SMOOTHNESS: Displays the smoothness values. This is the texture exported as the smoothness map.

AMBIENT OCCLUSION: Displays the ambient occlusion values. This is the texture exported as the Ambient Occlusion map.

NORMAL: Displays the normal data of the material. This is the texture exported as the Normal map.
8. Properties Filter
Filters the displayed properties, allowing you to view only color, metalness, smoothness, ambient occlusion, or normal (height).
9. Panel Buttons


Shows or hides the side panels.

Shows or hides the scene lighting.
Resets and centers the camera on the model.

Displays the model dimensions in meters (m).

Generates a random weapon by selecting random meshes, colors, and layers. If used while editing a single part, only that part will be randomized.


Shows or hides the mesh UV layout wireframe.
10. UV Maps Editor
Allows scaling and rearranging the UV maps of the model parts. You can drag and drop them, dropping one onto another UV island with matching dimensions swaps their positions.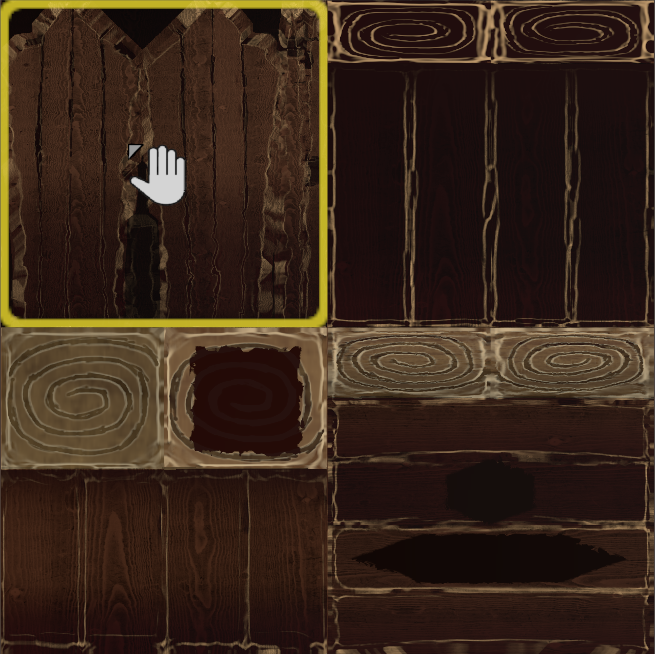
For better results and performance, fill as much UV space as possible and scale larger parts (such as a sword blade) proportionally larger than smaller parts.
 ❌Poor
❌Poor
 ✅Good
✅Good
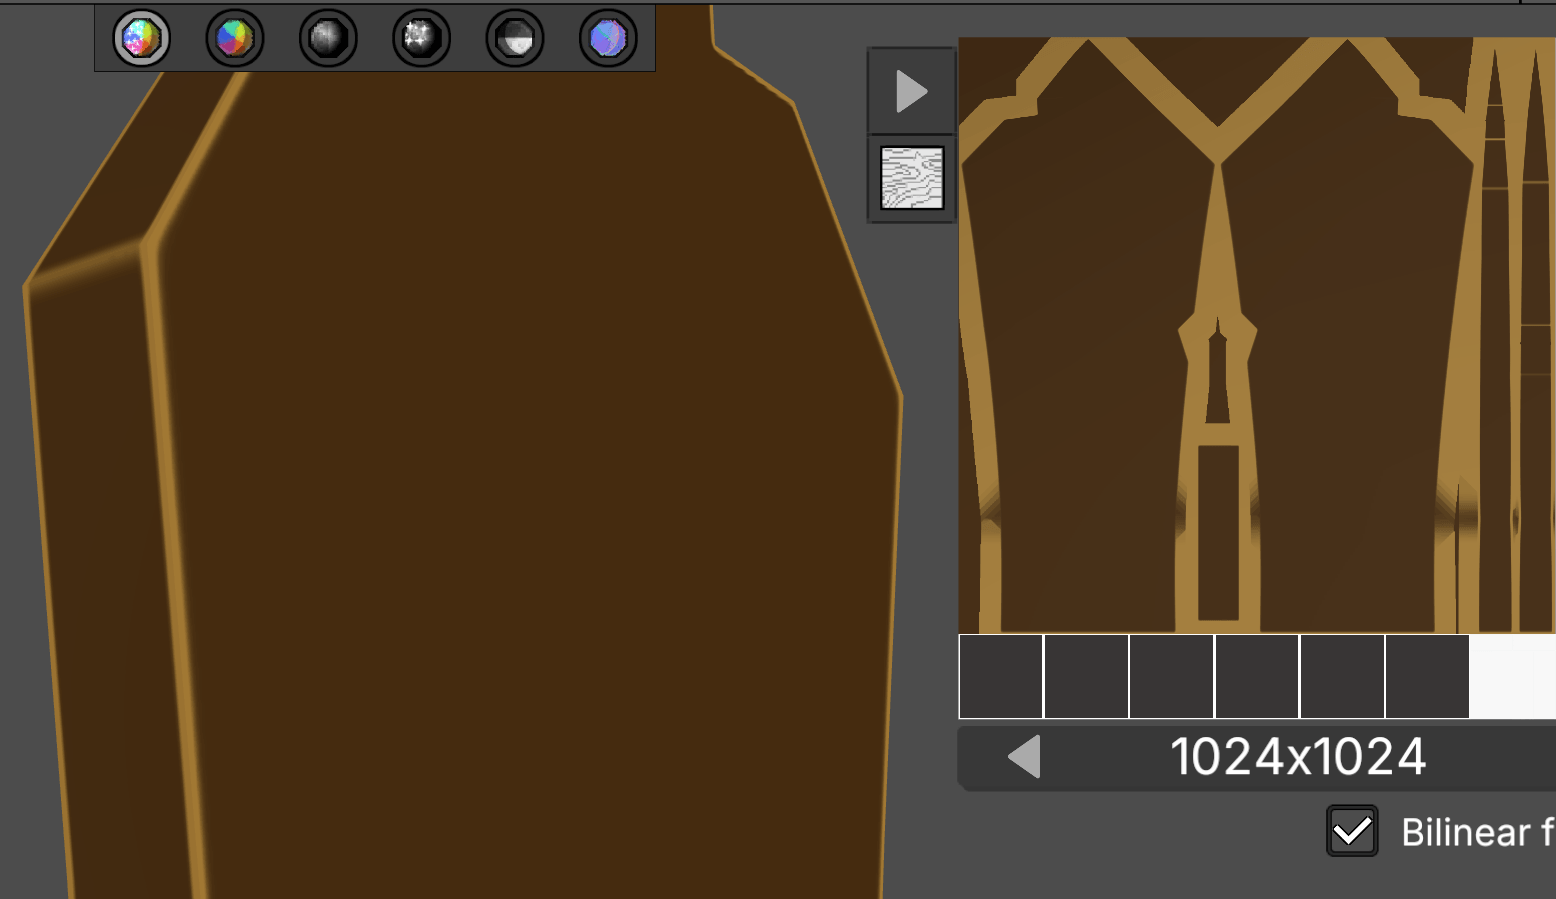
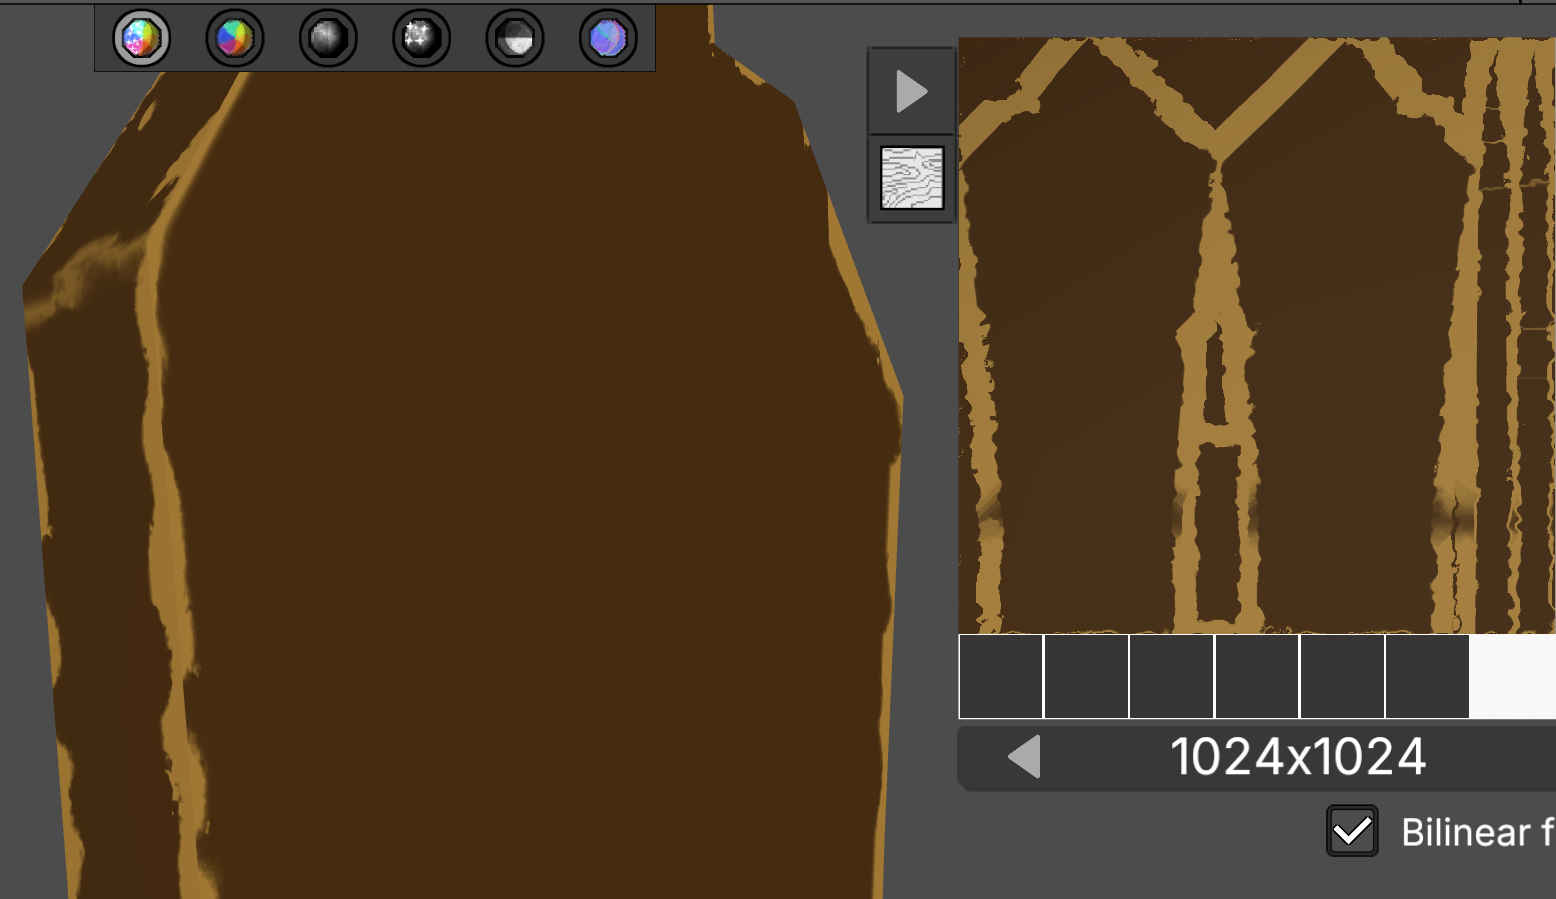
11. Texture Resolution

Sets the resolution of the final texture generated from all parts. This can also be adjusted in the Export window. To maintain performance, avoid working at very high resolutions, as they may cause frame rate drops. The current maximum resolution is 2048 × 2048.
12. Bilinear Filter

Enables or disables bilinear filtering. Most engines display textures with this filter enabled by default, while exported textures are unfiltered. In engines with bilinear filtering enabled, textures will appear as if this option is on. Disable filtering for pixel art or retro-style visuals.
13. Export Guide
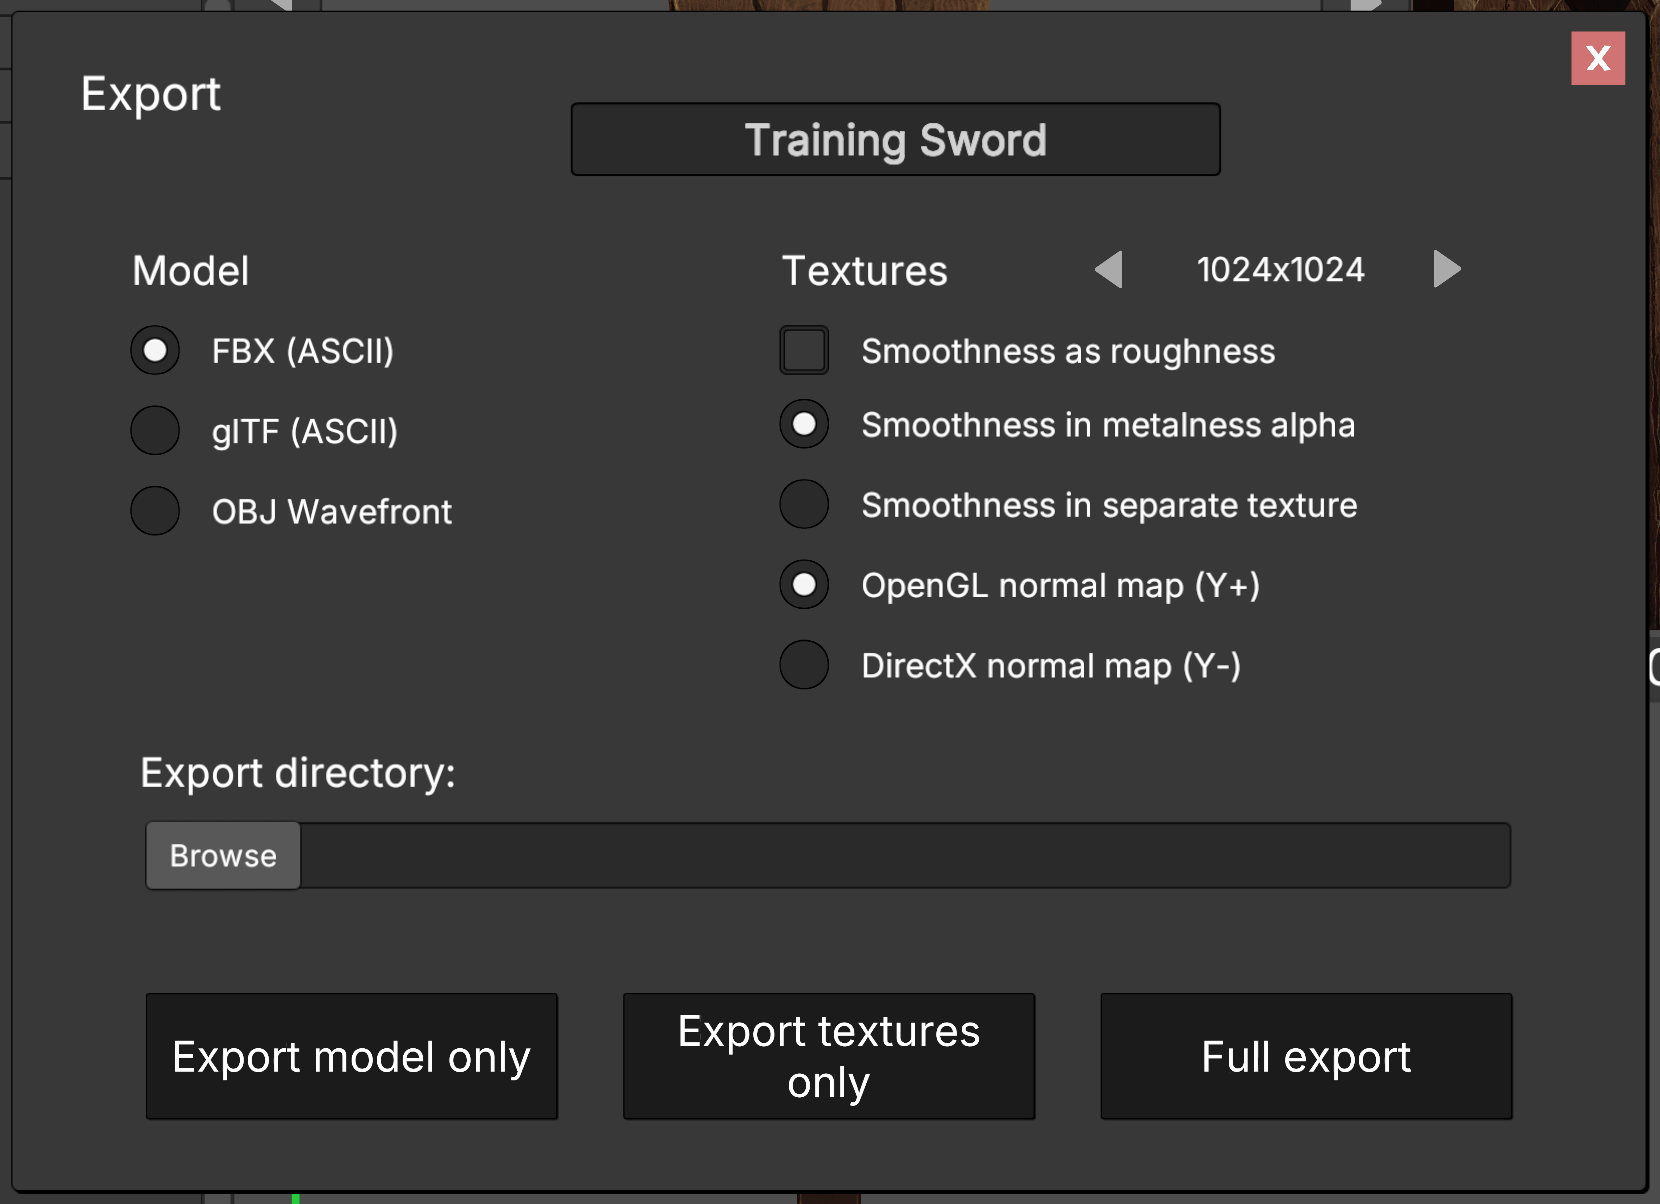
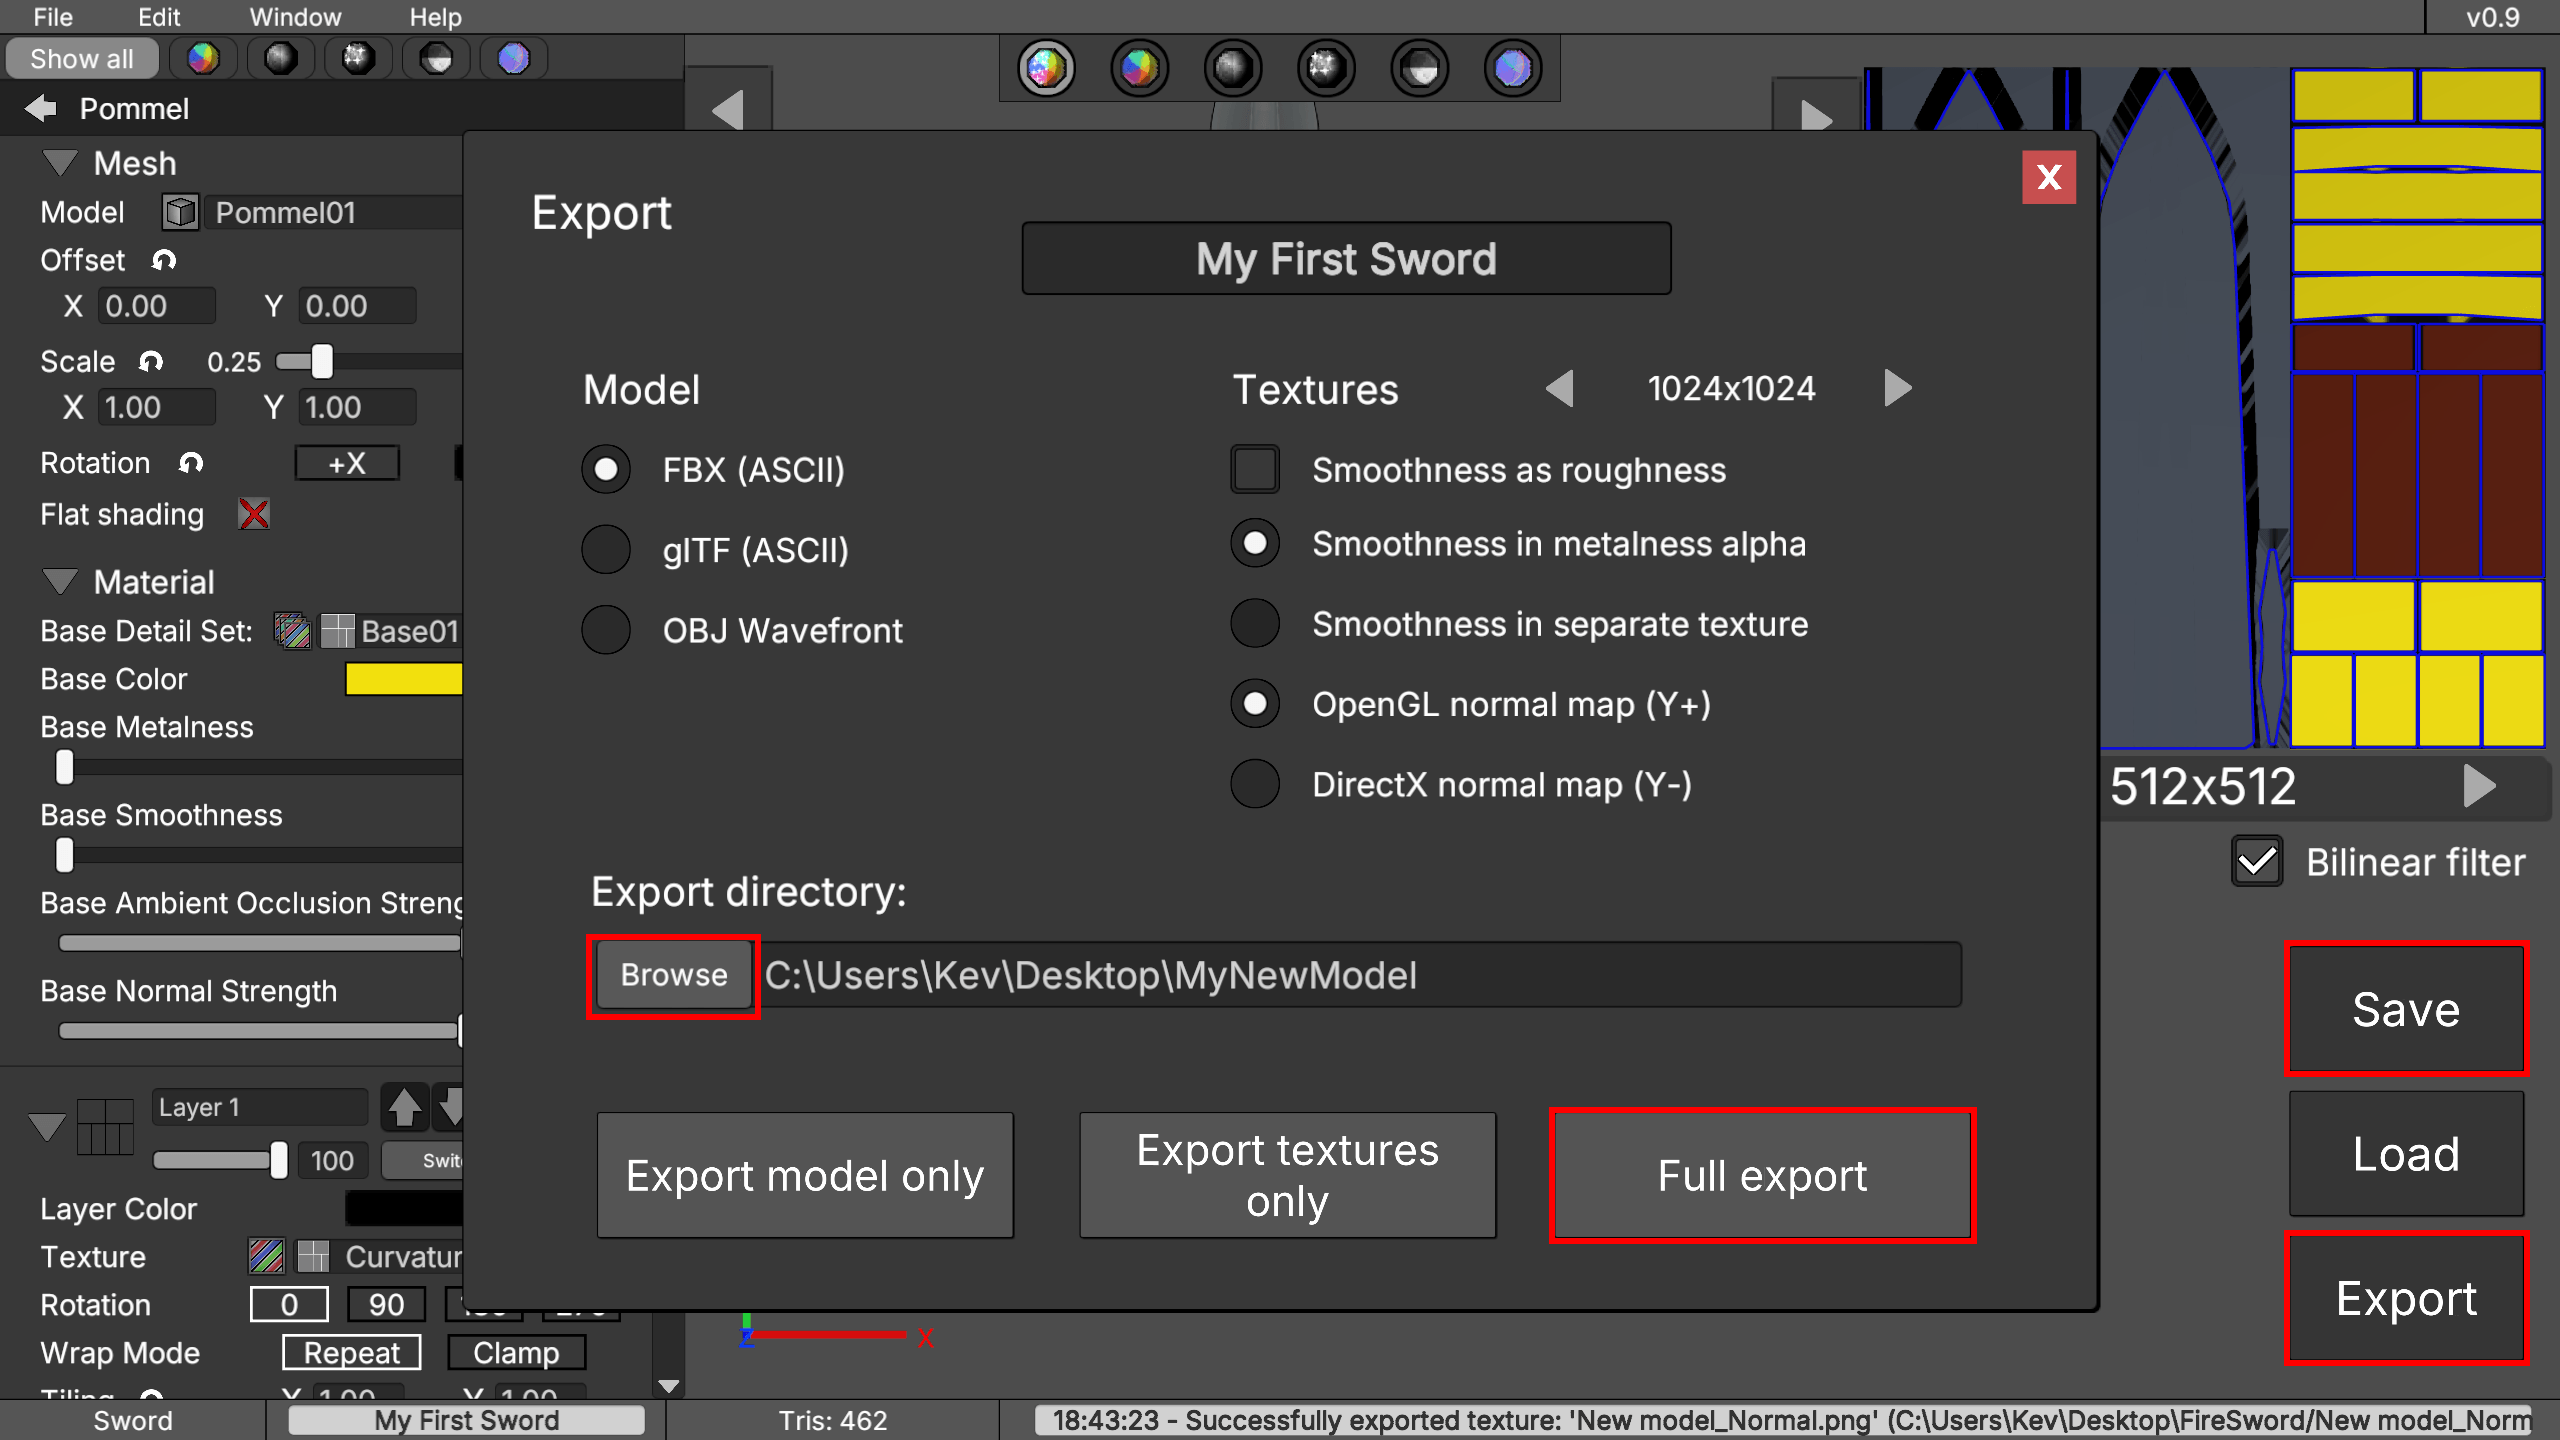
The Export window allows you to export your model and textures with different formats and settings.
File Name (top text input field)Defines the name of the exported files.
Model Formats
Choose the format for the exported 3D model:
- FBX (ASCII): Recommended for Unity and Unreal.
- glTF (ASCII): Recommended for Godot.
- OBJ Wavefront: Recommended for Blender.
Sets the resolution of the final texture generated from all parts (max 2048 × 2048).
Smoothness Options
Defines how smoothness data is exported:
- Smoothness as roughness: Converts smoothness into roughness (inverted).
- Smoothness in metalness alpha: Stores smoothness in the alpha channel of the metalness texture.
- Smoothness in separate texture: Exports smoothness as an independent texture.
Selects the normal map convention:
- OpenGL (Y+): Standard for most engines like Blender, Godot and Unity (default).
- DirectX (Y-): Used in engines like Unreal Engine.
Select the folder where the exported files will be saved.
Export Options
- Export model only: Exports only the 3D model without textures.
- Export textures only: Exports only the generated textures.
- Full export: Exports both the model and all textures.
Choose the appropriate format and settings depending on the target engine or workflow.
14. Scene Settings
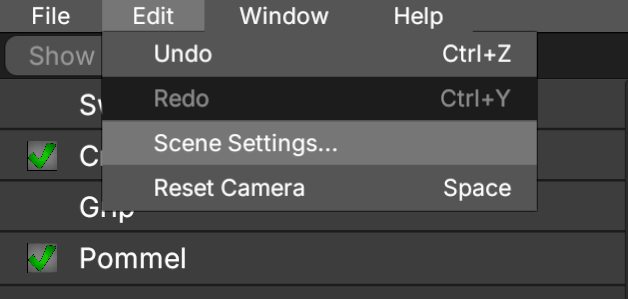
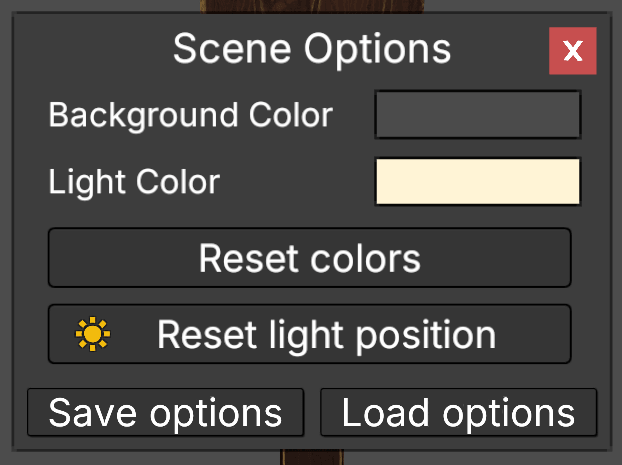
Background Color
Sets the color of the scene background.
Light Color
Sets the color of the scene lighting.
Reset Colors
Restores the default background and light colors.
Reset Light Position
Resets the light to its default position.
Save Options
Saves the current scene settings to a file. These settings are automatically loaded the next time the application starts.
Load Options
Loads the scene settings from the saved file.
15. Mouse Controls
Mouse controls are used to navigate the viewport, rotate the model, adjust the camera, and control the scene light.
Viewport Navigation- Mouse Wheel – Zooms the camera in or out.
- Left Click + Drag – Pans the camera view.
- Space – Resets the camera position and model rotation.
- Right Click + Drag – Rotates the model horizontally.
- Middle Click + Drag – Rotates the model vertically.
- Ctrl + Right Click + Drag – Rolls the model around the camera direction.
- Ctrl + Middle Click + Drag – Rotates the model around its side axis.
- Alt + Right Click + Drag – Rotates the scene light horizontally.
- Alt + Middle Click + Drag – Rotates the scene light vertically.
- Mouse controls only work when the cursor is over the viewport.
16. Input Hotkeys
Keyboard shortcuts change depending on the current context. Some shortcuts are only available in the main editor, while others are used to confirm or close pop-up windows.
General- Esc – Closes the current window, picker, or menu. In the editor, it closes the current part. If no part is open, it opens the Startup window.
- Enter – Confirms or closes certain windows, depending on the current context.
- F11 – Toggles fullscreen mode.
- Ctrl + Z – Undo.
- Ctrl + Y – Redo.
- Ctrl + N – Opens the Startup window.
- Ctrl + O – Loads a saved file.
- Ctrl + S – Saves the current file.
- Ctrl + Alt + S – Saves the current file with a new name.
- Space – Resets the camera.
- Tab – Shows or hides the side panels.
- 1 to 6 – When a part is open, selects the corresponding properties filter.
- 1 to 4 – When no part is open, opens the corresponding model part.
- Alt + 1 – Full Render
- Alt + 2 – Albedo / Diffuse
- Alt + 3 – Metalness
- Alt + 4 – Smoothness
- Alt + 5 – Ambient Occlusion
- Alt + 6 – Normal
- Esc closes alert windows, the startup window, log window, examples window, about window, software license window, support window, export window, color picker, texture picker, mesh picker, and detail set picker.
- Enter confirms alert windows and closes supported pop-up windows such as the log window, examples window, about window, support window, color picker, and texture picker.
17. Collections
A collection is a saved list of part models. This list can be reordered, and model names can be changed. This allows you to work with a custom model order and use clearer mesh names instead of names like "Blade01", "Blade02", etc. When a collection is selected, only the models included in that collection will appear in the mesh picker.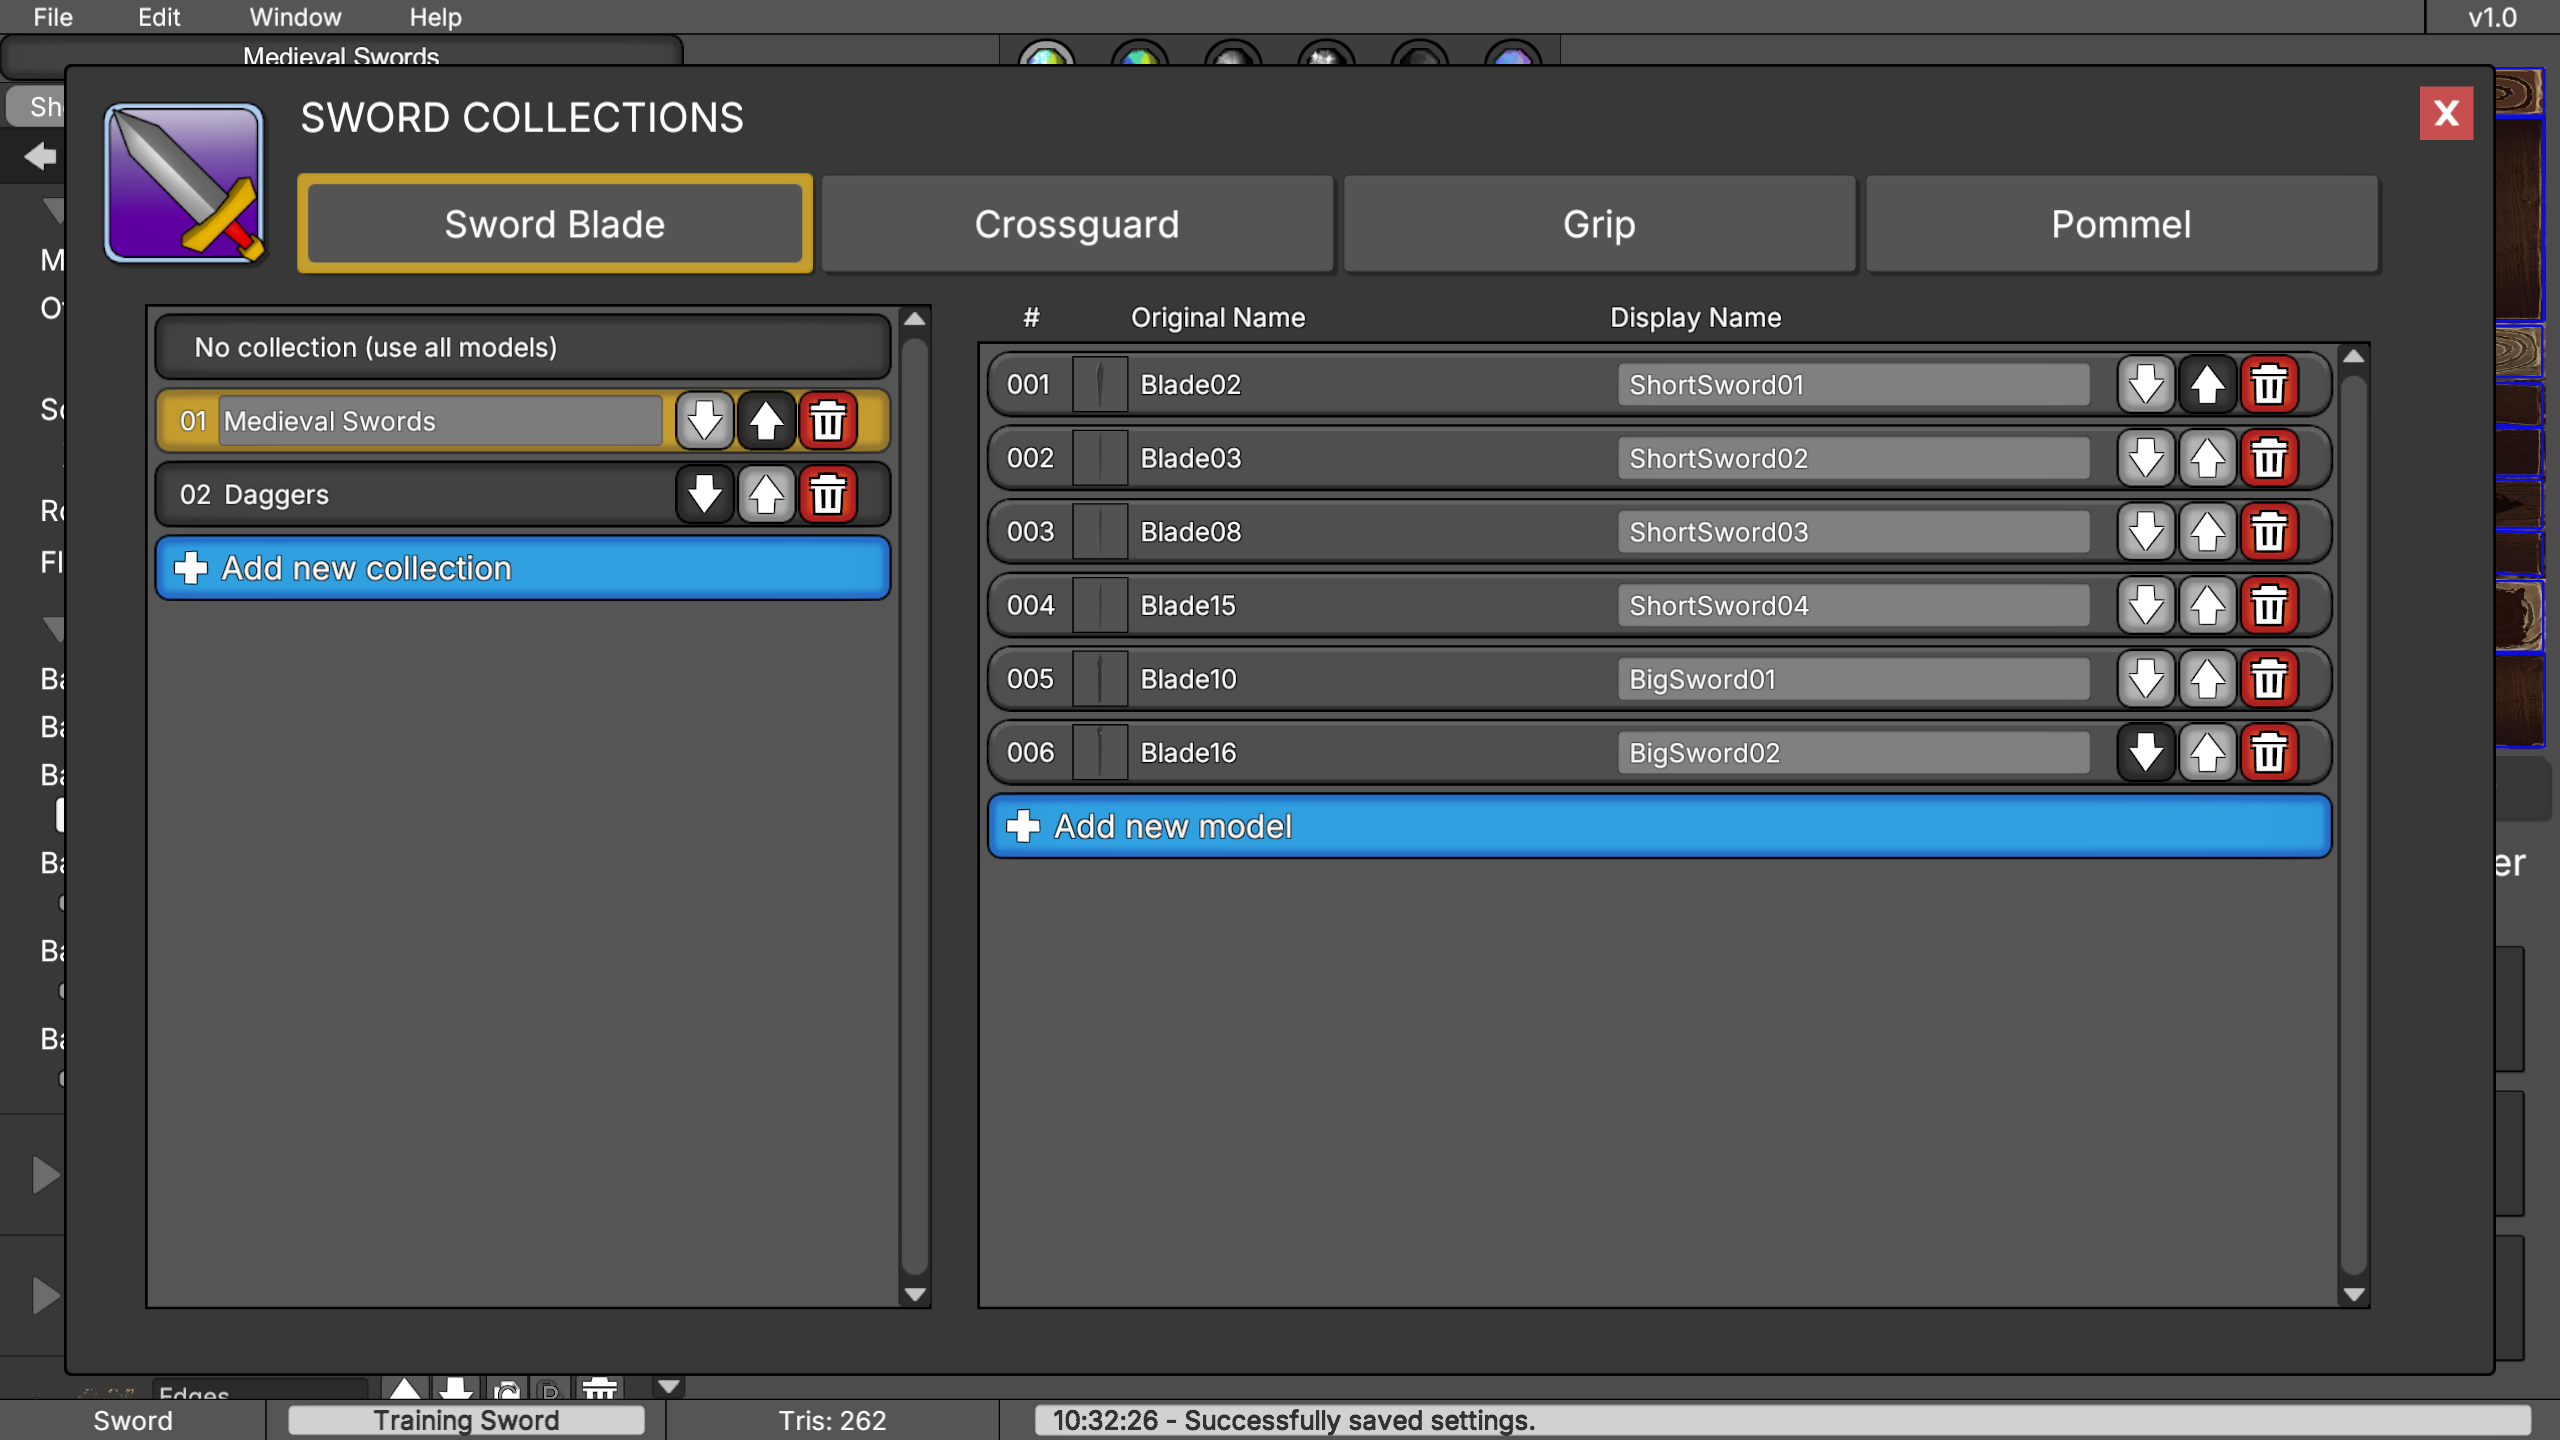
18. Support
If you have questions, suggestions, feedback, or want to report bugs, you can contact support via email:armorycrafter@keviniglesias.com
For more information and updates, visit:
keviniglesias.com/armoryCrafter.html
